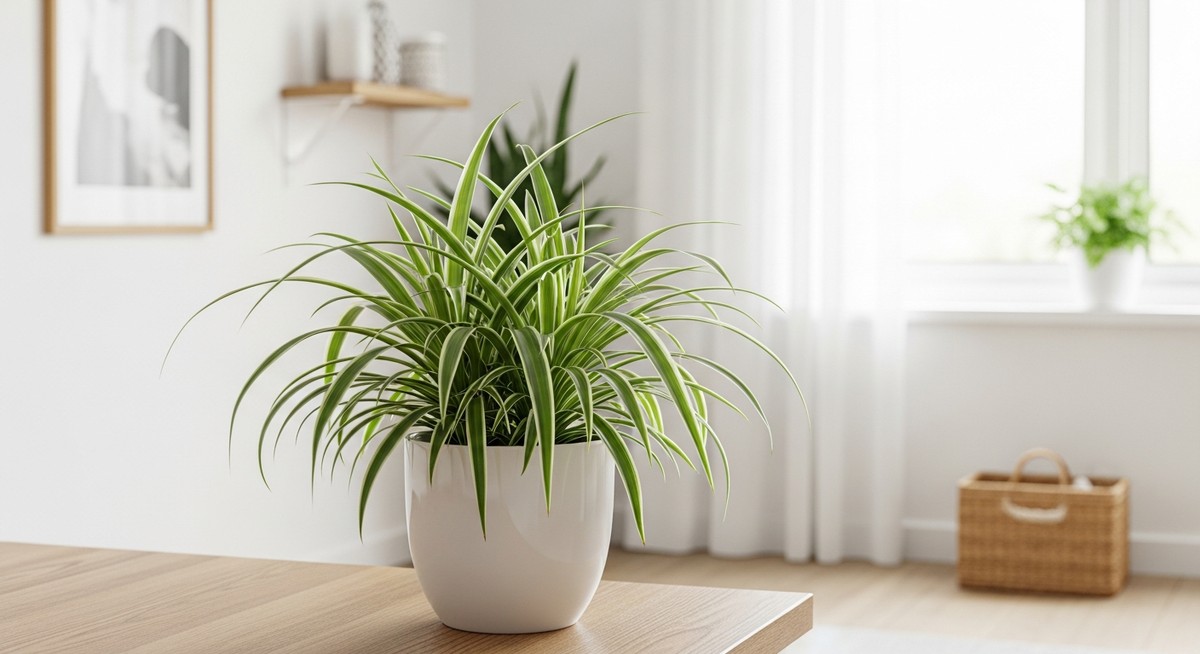
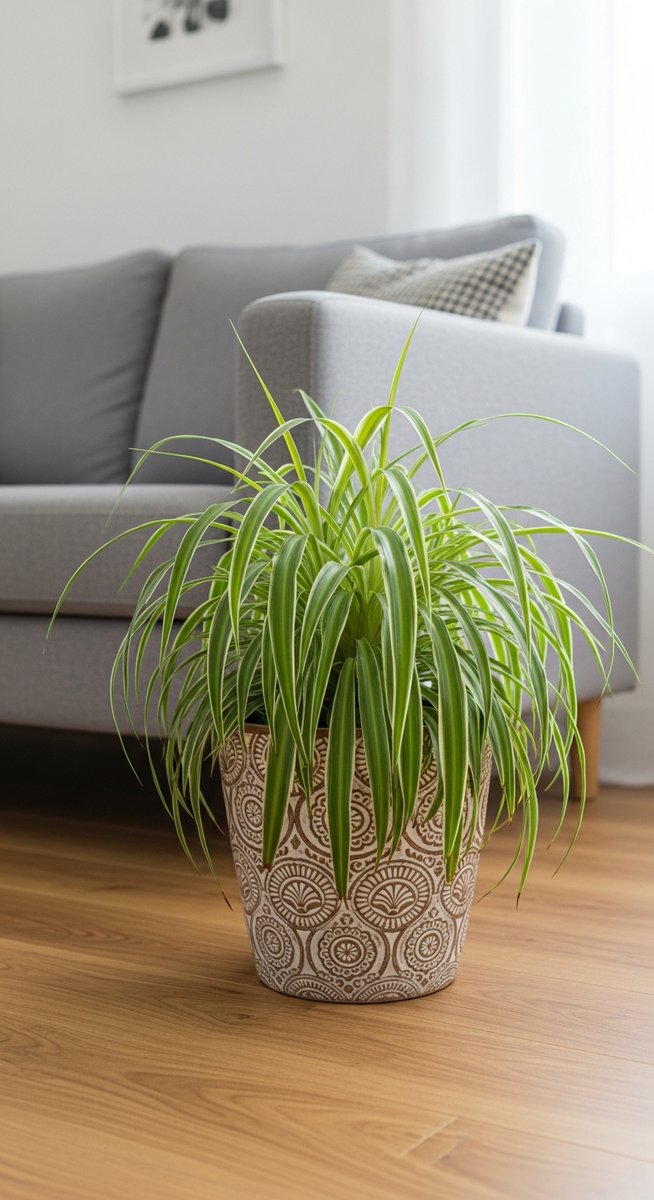
Spider plant care is a breeze, which is why this plant is such a popular choice for homes and offices. With its cascading leaves and air-purifying benefits, it’s both beautiful and functional.
But what does a spider plant need to stay happy – and how can you keep it thriving for years?
Let’s go over the key tips to help your spider plant flourish.
Table of Contents
Easy Spider Plant Care Guide 💚
⭐ Want one? Get your very own Spider Plant here
💧 Water: Water when the top inch of soil feels dry. Spider plants prefer slightly moist soil but can tolerate occasional drying out. Avoid overwatering to prevent root rot.
🌱 Soil: Use a well-draining potting mix - I personally use this potting mix - which works great, especially with added perlite for better aeration (like that one has).
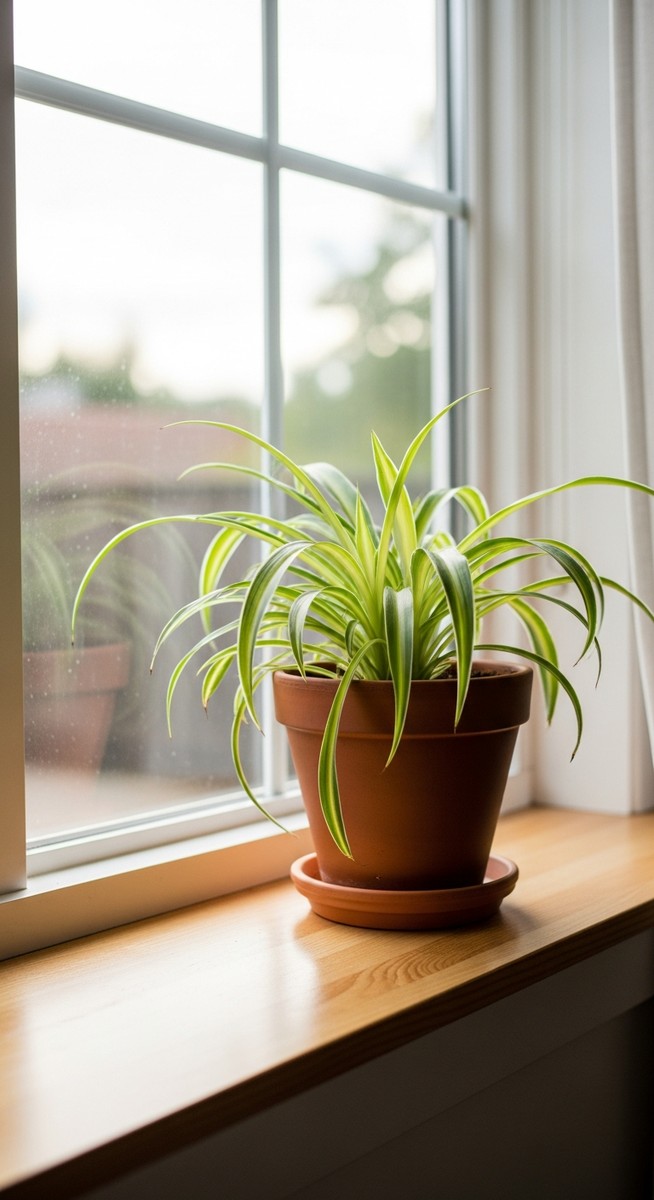
☀️ Light: Bright, indirect light is ideal, but Spider plants are adaptable and can handle lower light. Avoid direct sunlight, which can cause the leaves to scorch.
🌡️ Temperature: Keep your Spider plant in a room between 65-75°F (18-24°C). They don’t like cold drafts or sudden temperature changes.
🌿 Fertilizer: Feed with a diluted, balanced fertilizer (my top pick is this Miracle-Gro one) once a month during the growing season. Hold off on fertilizing in fall and winter.
Essential Spider Plant Care Basics
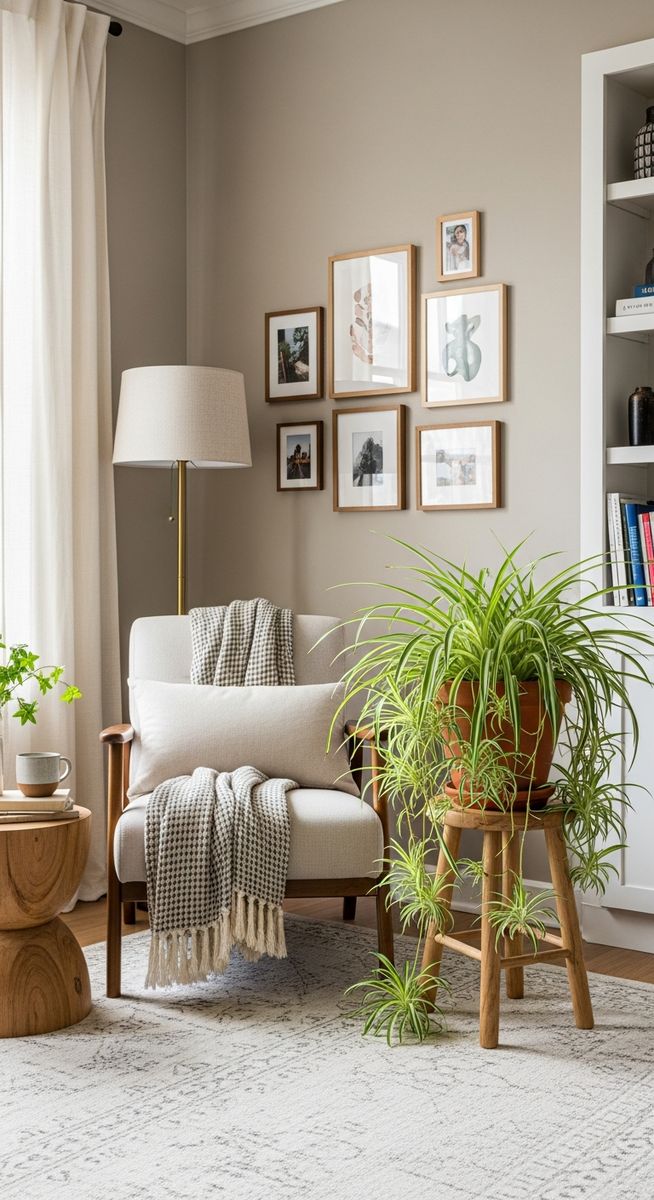
Spider plants are low-maintenance and adaptable houseplants. They thrive with proper light, water, temperature, and humidity.
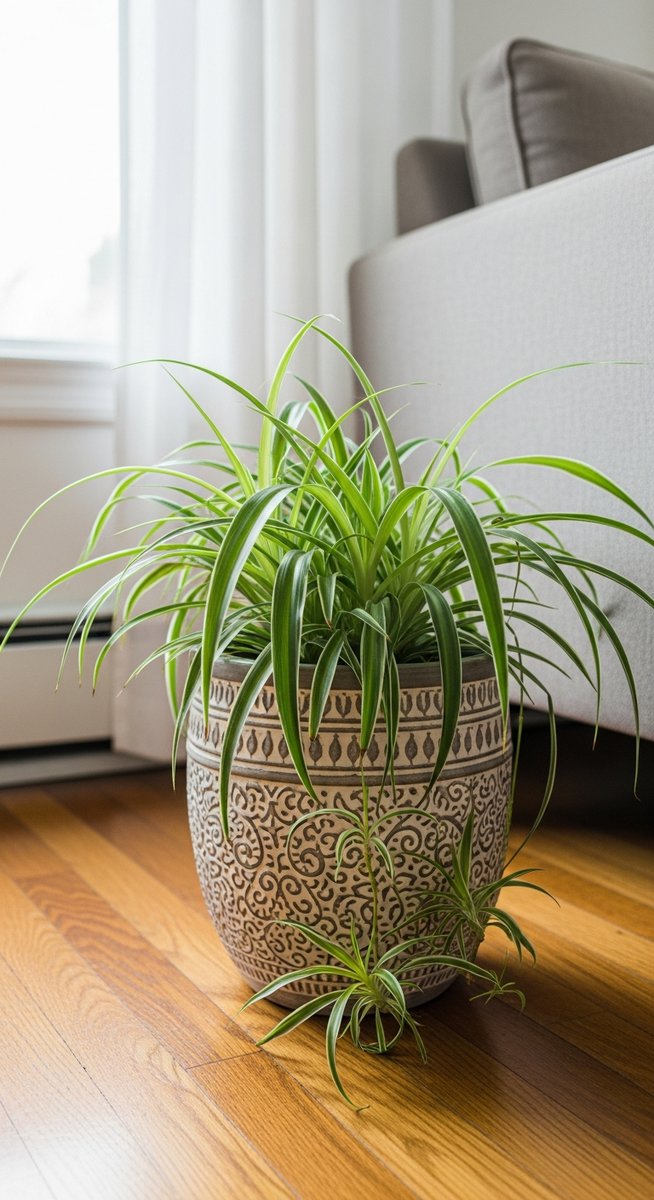
These easy-care plants can brighten up any indoor space with their arching foliage and baby plantlets.
Light requirements of spider plants
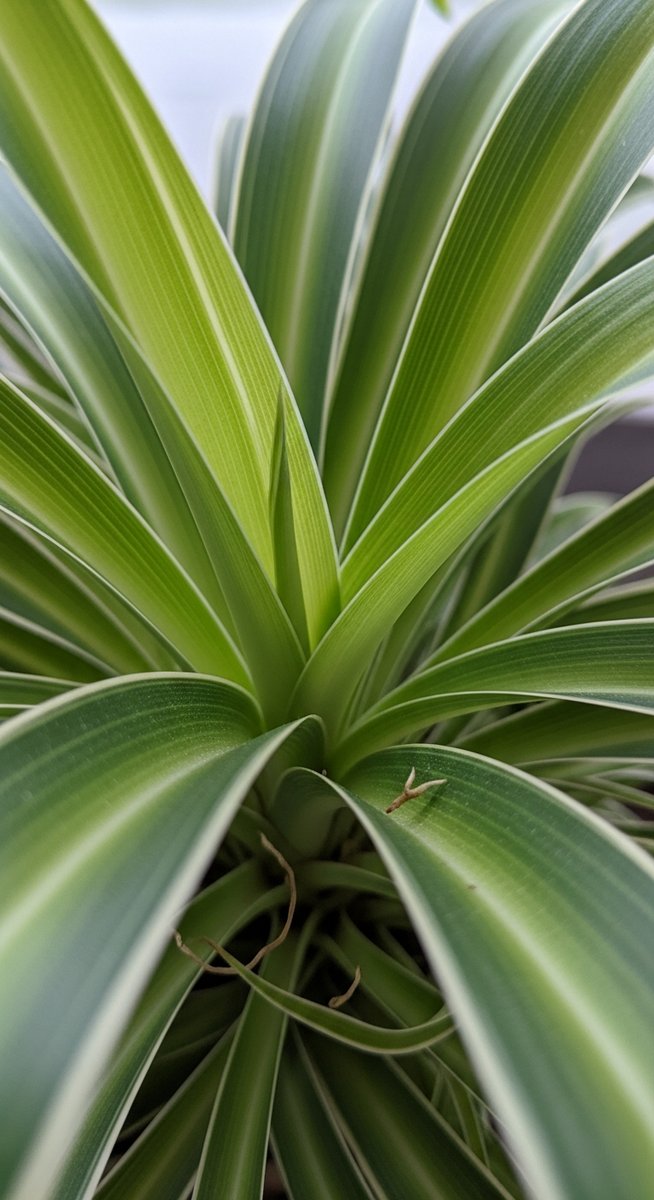
When it comes to spider plants’ light needs, they tend to prefer bright, indirect light. Place them near a north or east-facing window for optimal growth. They can tolerate lower light conditions but may lose their vibrant leaf stripes. Avoid direct sunlight, as it can scorch the leaves.
In low light, spider plants grow slower and produce fewer spider plant babies (also called “plantlets”. If you notice pale leaves or stunted growth, move your plant to a brighter spot.
During winter, you might need to supplement with artificial grow lights to maintain healthy foliage.
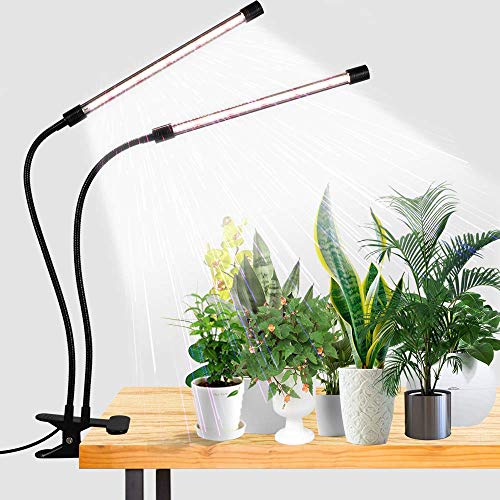
GooingTop LED Grow Light (6000K, Clip-On, Full Spectrum)
⭐⭐⭐⭐⭐
✅ Full-spectrum 6000K light that perfectly mimics natural sunlight, promoting healthy indoor plant growth
✅ Flexible gooseneck and strong clamp for easy positioning to provide the best lighting angle
✅ Timer function and energy-efficient LEDs make it a hassle-free, cost-effective way to keep plants thriving year-round
When to water your spider plant
Water your spider plant when the top inch of soil feels dry. These plants are sensitive to fluoride and chlorine, so use filtered or distilled water if possible. Water thoroughly until it drains from the bottom, then empty the saucer.
Overwatering is a common issue with spider plants. It’s better to underwater than overwater.
Brown leaf tips often indicate inconsistent watering or mineral buildup. Reduce watering in winter when growth slows down.
Ideal temperature range
Spider plants thrive in average room temperatures between 60-80°F (15-27°C). They can tolerate brief periods of cooler temperatures but prefer consistent warmth. Avoid placing them near drafty windows or air conditioning vents.
In winter, keep spider plants away from cold windowsills. If temperatures drop below 50°F (10°C), move them to a warmer spot. These plants can survive short periods of colder temps but may show signs of stress or slowed growth.
Ideal humidity level for spider plants
Spider plants aren’t picky about humidity but prefer moderate levels. Average household humidity is usually sufficient. In dry environments, you can increase humidity by misting the leaves or using a pebble tray.
During winter or in air-conditioned rooms, watch for brown leaf tips – a sign of low humidity. Grouping plants together can create a microclimate with higher humidity.
Avoid placing spider plants near heating vents, which can dry out the air and leaves.
Potting and transplanting
Spider plants are easy to grow and propagate. They thrive in well-draining soil and containers with proper drainage holes. Careful transplanting helps ensure your spider plant adapts quickly to its new home.
Best soil for spider plants
For spider plants, use a light, well-draining potting mix. In fact, that’s exactly why I recommend the one below for this plant.

Miracle-Gro Houseplant Potting Mix
⭐⭐⭐⭐⭐
The best soil for Spider Plants, designed to keep them thriving indoors. With excellent drainage and key nutrients, it promotes strong roots and vibrant, arching leaves.
If you have to make your own rather than buying a pre-made one for some reason, combine equal parts peat moss, perlite, and regular potting soil.
This mixture provides good aeration and drainage while retaining enough moisture. Add a handful of coarse sand or fine gravel to improve drainage further.
If you choose to buy a different potting mix, just make sure it’s not too heavy or water-retentive. Avoid garden soil, as it’s too dense for container-grown spider plants.
To boost fertility, mix in a small amount of slow-release fertilizer or compost. This will provide nutrients for several months.
Choosing the right pot
Pick a pot that’s about 2 inches larger in diameter than your spider plant’s root ball. This gives the roots room to grow without overwhelming the plant. Make sure the container has drainage holes at the bottom to prevent water from pooling.
For hanging baskets, choose a sturdy container that can support the weight of the plant as it grows. Line wire baskets with coconut coir or sphagnum moss to help retain moisture.
Transplanting tips
Water your spider plant thoroughly a day before transplanting. This helps reduce stress and makes the roots easier to work with.
When you’re going ahead with repotting your spider plant, start by gently removing the plant from its current pot, loosening the roots if they’re tightly bound.
Place a layer of fresh potting mix in the new container. Set the plant so that the top of the root ball is about an inch below the pot’s rim. Fill in around the roots with more potting mix, pressing gently to eliminate air pockets.
After transplanting, water the plant well. Place it in a spot with bright, indirect light. Avoid direct sunlight for a few days to help the plant adjust. Keep the soil consistently moist but not waterlogged for the first couple of weeks.
Growth and maintenance
Spider plants are fast-growing and easy to maintain. They thrive with minimal care but can benefit from regular attention.
Proper feeding, pruning, and problem-solving will keep your spider plant healthy and vibrant.
Best fertilizers for spider plants
Spider plants don’t need much fertilizer to grow well. Feed your plant once a month during spring and summer with a balanced, water-soluble fertilizer (my preferred one is below!). Dilute the fertilizer to half strength to avoid over-fertilizing.

Miracle-Gro Water Soluble All Purpose Plant Food
⭐⭐⭐⭐⭐
The best fertilizer for Spider Plants, boosting healthy foliage and encouraging new growth. Safe and effective for keeping your plant strong and thriving
In fall and winter, reduce feeding to once every two months. Too much fertilizer can cause brown tips on the leaves. If you notice this, flush the soil with water to remove excess nutrients.
Organic fertilizers like compost tea or worm castings are great alternatives. They provide slow-release nutrients and improve soil health. Apply these every 2-3 months for best results.
Pruning and grooming
Regular pruning keeps your spider plant looking neat and encourages new growth. Remove any yellow or brown leaves by cutting them off at the base with clean scissors.
(And if you’re pruning to create a spider plant bonsai, check out the article at that link for a few extra steps to take.)
Trim off the long stems (called stolons) if you don’t want new plantlets. This will redirect energy to the main plant. If you want to propagate your spider plant, leave the stolons and remove the baby plants when they’re about 2 inches wide.
Dust the leaves gently with a damp cloth every few weeks. This helps the plant breathe and photosynthesize better. Be careful not to damage the leaves while cleaning.
Detecting and solving growth issues
Brown leaf tips on a spider plant often indicate overwatering or too much fertilizer. Reduce watering frequency and flush the soil if you’ve been fertilizing heavily.
Yellow leaves might mean your plant is getting too much direct sunlight. Move it to a spot with bright, indirect light.
If your spider plant isn’t producing babies, it might need more light. Move it closer to a window, but avoid harsh afternoon sun.
Pale leaves can signal a lack of nutrients. Try feeding your plant with a balanced fertilizer or adding some compost to the soil.
Drooping leaves usually mean the plant needs water. Check the soil moisture and water if it’s dry about an inch below the surface.
Pest control and common problems
Spider plants are generally resilient, but they can face a few pest and disease issues. Proper identification and prompt action are key to keeping your plant healthy and thriving.
Identifying common pests
Mealybugs and spider mites are the most frequent pests that attack spider plants. Mealybugs appear as small, white, cottony clusters on leaves and stems. Spider mites are tiny and often go unnoticed until webbing appears on the plant.
To spot these pests, check your plant regularly. Look under leaves and along stems for any unusual spots or movement. If you see small, moving dots or white fuzzy patches, your plant likely has an infestation.
How to Get Rid of Pests on Your Houseplants
If you notice pests on your indoor plants, follow these steps to tackle the problem before it gets worse:
- Start with manual removal – For minor infestations, wipe leaves with a cotton swab dipped in rubbing alcohol or rinse the plant under lukewarm water to remove pests by hand.
- Use neem oil or insecticidal soap – If pests persist, treat your plant with neem oil or insecticidal soap (those are my preferred ones!), both of which target common houseplant pests without harming your plant.
- Apply a houseplant-safe pesticide – For severe cases that don’t respond to other treatments, use a broad-spectrum pesticide designed for indoor plants to eliminate stubborn pests – I use this pesticide for tough infestations.
By acting quickly and using the right treatments, you can keep your houseplants pest-free and thriving!
Diseases and environmental stressors
Root rot is a common issue for spider plants, usually caused by overwatering. Signs include yellowing leaves, wilting, and a foul odor from the soil. Leaf spot diseases can also occur, showing up as brown or black spots on the foliage.
Environmental stress often leads to brown leaf tips. This can be due to low humidity, too much direct sunlight, or buildup of salts and minerals from tap water.
Adjust your care routine if you notice these symptoms.
Preventive care and treatments
Prevention is the best approach to pest and disease control. Keep your spider plant in well-draining soil and avoid overwatering. Clean the leaves regularly to remove dust and deter pests.
Check out my summary above on how to deal with any pest infestations. When it comes to root rot, remove affected roots and repot in fresh, dry soil.
For fungal issues, prune affected areas and improve air circulation. Always quarantine new plants before introducing them to your collection to prevent pest spread.
How to propagate spider plants
Spider plants are easy to propagate, making them perfect for expanding your collection or sharing with friends. You can use several methods to create new plants, each with its own advantages.
Dividing pups
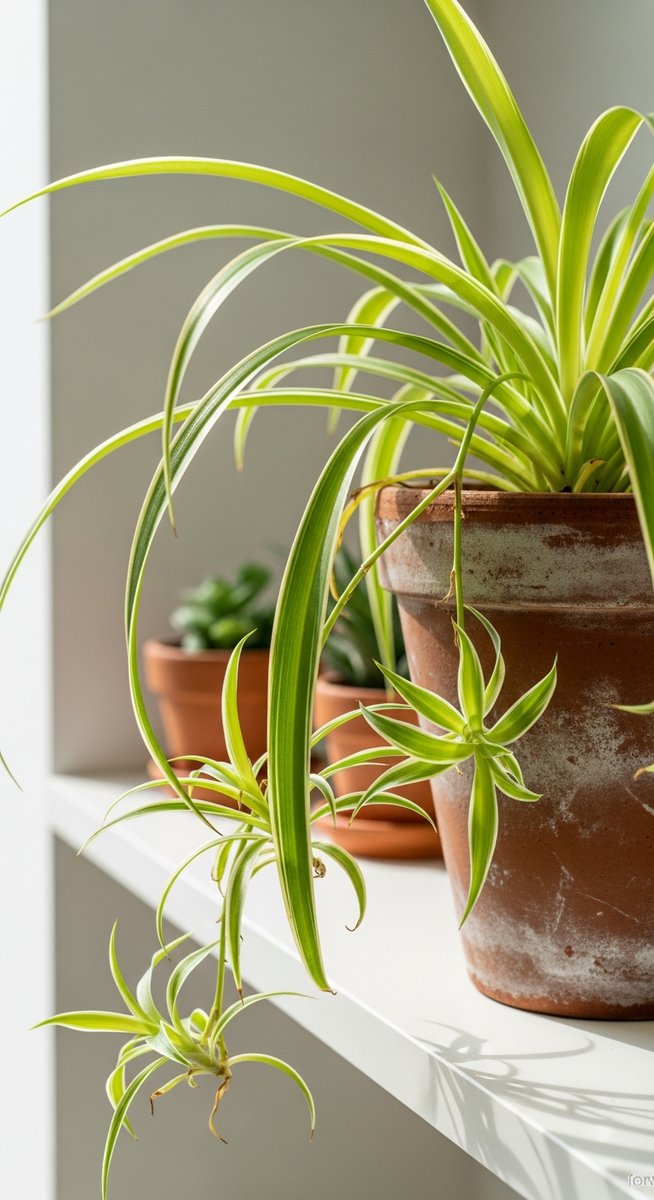
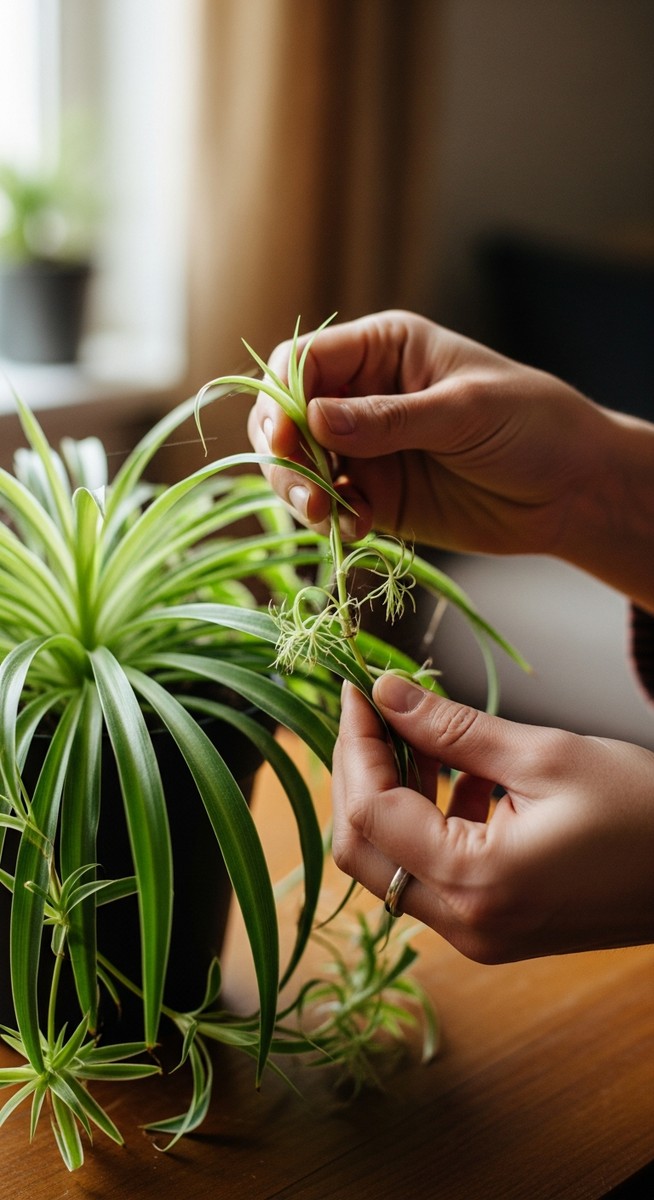
Spider plants naturally produce small offshoots called “pups” or “spiderettes.” These baby plants grow on long stems and can be easily separated from the mother plant.
To propagate using pups, wait until they develop small roots. Gently cut the stem connecting the pup to the parent plant with clean scissors.
Plant the pup in a small pot with well-draining soil. Keep the soil moist but not waterlogged. Within a few weeks, your new spider plant will establish itself and start growing.
You can also root pups in water before planting. Place the pup in a glass of water, ensuring the roots are submerged.
Change the water every few days to keep it fresh. Once the roots are about an inch long, transfer the pup to soil.
Seed propagation
Growing spider plants from seeds is less common but still possible. Collect seeds from the small white flowers that appear on mature plants. Sow the seeds in a tray filled with moist, sterile potting mix. Lightly cover them with a thin layer of soil.
Keep the soil consistently moist and place the tray in a warm, bright spot – but out of direct sunlight. Germination usually occurs within 2-3 weeks.
Once the seedlings have a few leaves and are big enough to handle, transplant them into individual pots.
Cuttings
While not as popular as offset propagation, you can grow new spider plants from stem cuttings. Choose a healthy stem with at least two leaves. Cut it just below a leaf node using clean, sharp scissors. Remove the lower leaves, leaving only the top ones.
Place the cutting in a glass of water, making sure the node is submerged. Change the water every few days to prevent bacterial growth.
In about 2-3 weeks, you’ll see roots developing. Once the roots are about an inch long, plant the cutting in a pot with well-draining soil.
Keep the soil moist until the plant establishes itself.
FAQs
Spider plants are popular houseplants known for their easy care and air-purifying qualities. Proper watering, pruning, and light exposure are key to keeping them healthy and thriving.
How do I properly water a spider plant indoors?
Water your spider plant when the top inch of soil feels dry. Give it a thorough soak, allowing excess water to drain out. Don’t let the pot sit in standing water. During winter, reduce watering frequency as the plant’s growth slows down.
In summer, you might need to water more often. Check the soil moisture regularly and adjust your watering schedule based on your home’s conditions.
What is the best way to make a spider plant bushier?
To encourage a fuller spider plant, prune it regularly. Cut off any brown or yellow leaves at the base. Trim long stems to promote branching and provide bright, indirect light to support healthy growth.
You should also fertilize monthly during the growing season with a balanced, water-soluble fertilizer. This will help your plant produce more leaves and offshoots.
How should I care for spider plant babies?
Spider plant babies, or spiderettes, can be left on the mother plant or removed for propagation. If you’re keeping them attached, ensure they have enough space to grow. To propagate, cut the baby off when it has developed small roots.
Plant it in moist potting soil and keep it in bright, indirect light. Water gently until the new plant establishes itself.
What steps are needed to protect spider plants during winter?
Move your spider plant away from cold drafts and windows during winter. Maintain temperatures between 55-65°F (13-18°C). Reduce watering as the plant’s growth slows down and increase humidity by misting the leaves or using a pebble tray filled with water.
Avoid fertilizing during this dormant period. Resume normal care when spring arrives and growth picks up again.
How much sunlight is ideal for the healthiest growth of a spider plant?
Spider plants thrive in bright, indirect light. Place them near a north or east-facing window for optimal growth. They can tolerate lower light conditions but may grow slower. Avoid direct sunlight, which can scorch the leaves.
If you notice the leaves turning pale or the variegation fading, your plant might need more light. Move it to a brighter spot, but introduce the change gradually to prevent shock.