Repotting your spider plant from time to time is an important part of keeping it healthy and thriving, especially as it grows and spread. These fast-growing plants can quickly outgrow their pots, leaving their roots cramped and needing more space.
But how do you know when it’s time to repot – and what’s the best way to do it without stressing the plant?
Let’s walk through the steps to successfully repot your spider plant.
Table of Contents
Easy Spider Plant Care Guide 💚
⭐ Want one? Get your very own Spider Plant here
💧 Water: Water when the top inch of soil feels dry. Spider plants prefer slightly moist soil but can tolerate occasional drying out. Avoid overwatering to prevent root rot.
🌱 Soil: Use a well-draining potting mix - I personally use this potting mix - which works great, especially with added perlite for better aeration (like that one has).
☀️ Light: Bright, indirect light is ideal, but Spider plants are adaptable and can handle lower light. Avoid direct sunlight, which can cause the leaves to scorch.
🌡️ Temperature: Keep your Spider plant in a room between 65-75°F (18-24°C). They don’t like cold drafts or sudden temperature changes.
🌿 Fertilizer: Feed with a diluted, balanced fertilizer (my top pick is this Miracle-Gro one) once a month during the growing season. Hold off on fertilizing in fall and winter.
How to Know Your Spider Plant Needs Repotting
Your spider plant is likely due for a new pot if you notice roots poking out of the drainage holes. This is a clear indicator that the plant has outgrown its current container.
Another sign is when water runs straight through the pot without being absorbed. This happens when the soil has become compacted or the roots have filled the available space.
Slow growth or yellowing leaves can also signal it’s time to repot. These symptoms often occur when the plant can’t access enough nutrients in its current pot.
Check if the plant seems top-heavy or unstable. If it’s constantly tipping over, it might need a larger, more stable home.
Benefits of Repotting
Repotting gives your spider plant’s roots more room to spread out. This extra space allows for better nutrient absorption and stronger growth.
Fresh potting soil provides a boost of nutrients that your plant needs. Over time, the original soil becomes depleted, so repotting replenishes these essential elements.
A new pot can improve drainage and aeration. Proper water flow and air circulation are vital for root health and prevent issues like root rot.
Repotting offers a chance to inspect your plant’s roots. You can check for any signs of disease or pests and address them before they become serious problems.
It’s also an opportunity to divide and propagate your spider plant. You can create new plants from offshoots, sharing them with friends or expanding your collection.
Soil Preparation
Proper soil preparation is crucial for repotting spider plants. The right soil mix and pH level will provide essential nutrients and drainage for healthy growth. Let’s explore the key components and ideal pH range for spider plant soil.
Best Soil for Spider Plants
Spider plants thrive in well-draining soil that retains some moisture. That’s exactly why I recommend using the mix below for your spider plants.

Miracle-Gro Houseplant Potting Mix
⭐⭐⭐⭐⭐
The best soil for Spider Plants, designed to keep them thriving indoors. With excellent drainage and key nutrients, it promotes strong roots and vibrant, arching leaves.
This combination ensures proper aeration and drainage while maintaining enough moisture for the roots. You can also add a handful of compost to enrich the soil with organic matter.
When mixing, aim for a light and fluffy texture. Avoid compacting the soil too much, as this can hinder root growth.
If you’re short on time, you can use a pre-made potting mix designed for indoor plants – just make sure it’s well-draining.
Soil pH for Spider Plants
Spider plants prefer slightly acidic to neutral soil. The ideal pH range is between 6.0 and 7.2. This range allows the plant to absorb nutrients efficiently.
To test your soil’s pH, you can use a simple home testing kit available at most garden centers. If you need to adjust the pH:
- To lower pH: Add small amounts of sulfur or peat moss
- To raise pH: Mix in some lime or wood ash
Remember, it’s easier to start with the right pH than to adjust it later. When buying potting soil, look for options specifically formulated for houseplants, as these often have an appropriate pH range for spider plants.
Choosing the Right Pot For Your Spider Plant
Selecting the appropriate pot for your spider plant is crucial for its health and growth. The right container will provide adequate space, proper drainage, and suitable material to support your plant’s needs.
Consider these key factors when picking out a new home for your spider plant.
Pot Size Selection
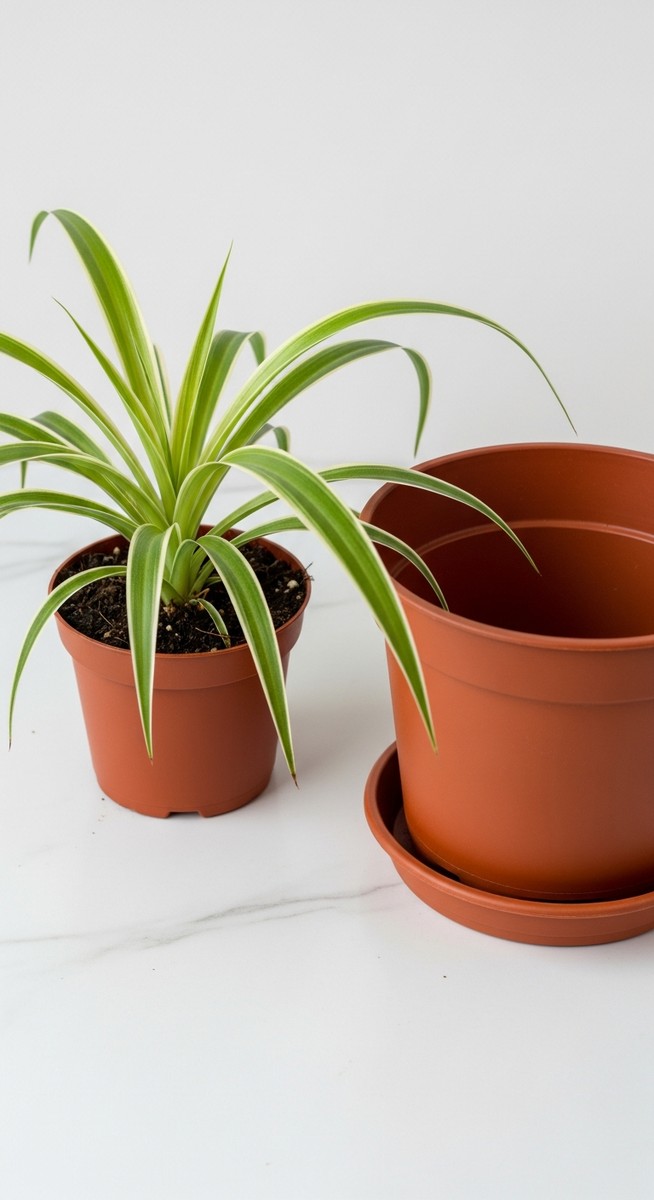
You’ll want to choose a pot that’s about 1-2 inches larger in diameter than your spider plant’s current container. This gives the roots room to grow without overwhelming them. For most mature spider plants, a 6-8 inch pot works well.
If your plant has outgrown its current home, look for signs like roots poking out of drainage holes or the soil drying out quickly. In these cases, go up a size or two. Remember, it’s better to gradually increase pot size rather than jumping to a much larger container.
Younger spider plants or offshoots can start in smaller 4-inch pots. As they grow, you can move them to larger containers every year or two.
Material Considerations
The material of your pot can affect your spider plant’s health and watering needs. Here are some common options:
- Terracotta: Porous and breathable, great for preventing overwatering
- Plastic: Lightweight and retains moisture well
- Ceramic: Attractive and comes in various glazes
- Concrete: Sturdy and provides good insulation
Terracotta pots are often ideal for spider plants. They allow excess moisture to evaporate, reducing the risk of root rot. If you tend to overwater, terracotta might be your best bet.
Plastic pots are budget-friendly and come in many sizes. They’re also lightweight, making it easy to move your plant around. Just be careful not to overwater, as plastic retains moisture longer than terracotta.
Drainage Requirements
Good drainage is essential for spider plants to thrive. Make sure your chosen pot has at least one drainage hole at the bottom. This allows excess water to escape and prevents waterlogged soil.
If you find a pot you love that doesn’t have drainage holes, you can drill some yourself. Use a masonry bit for terracotta or ceramic pots, and a regular drill bit for plastic containers.
To further improve drainage:
- Add a layer of pebbles or broken pottery pieces at the bottom of the pot
- Use well-draining potting mix designed for houseplants
- Place a saucer under the pot to catch excess water
By ensuring proper drainage, you’ll help prevent root rot and keep your spider plant happy in its new home.
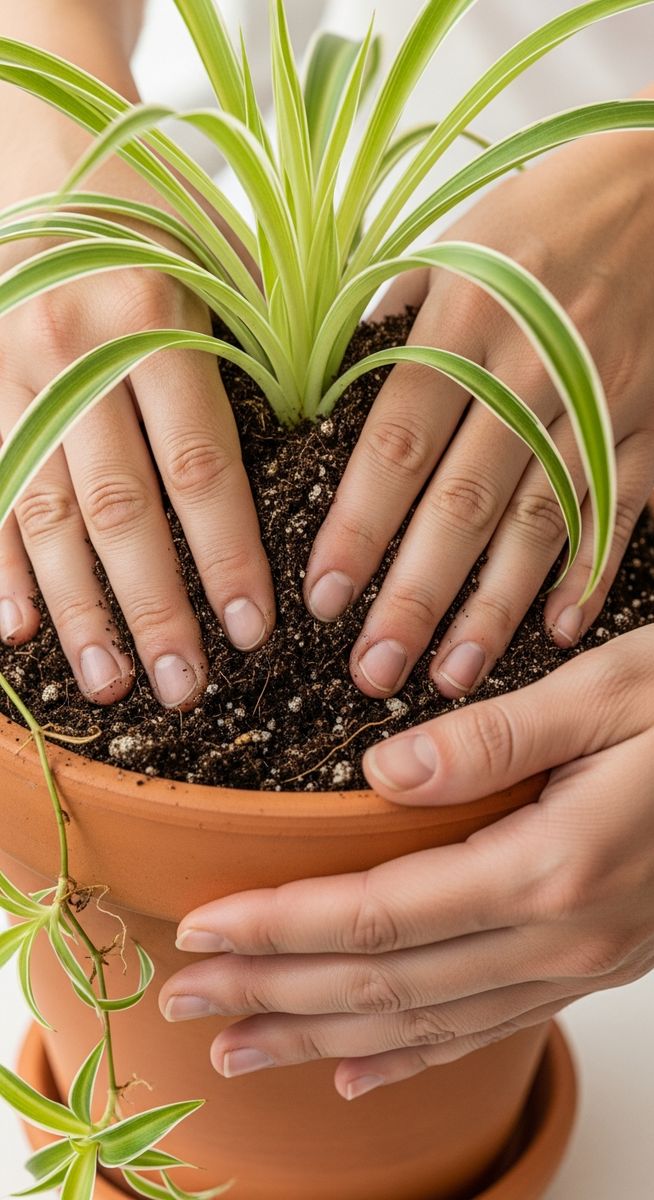
How to Repot Spider Plants
Repotting a spider plant is a straightforward process that rejuvenates your plant and promotes healthy growth.
With the right tools and technique, you can give your spider plant a fresh start in a new home. Let’s break down the process into manageable steps.
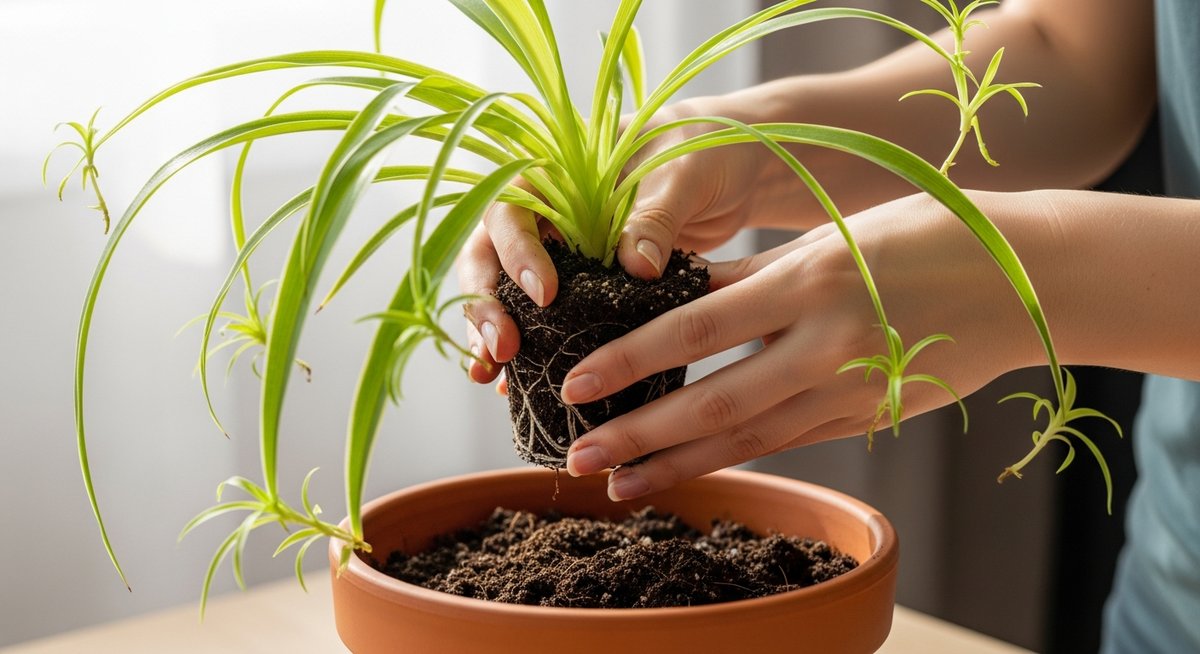
1. Removing the Plant
Start by gently tipping the pot on its side and easing the plant out. If it’s stuck, tap the sides of the pot to loosen the soil. Be careful not to pull on the leaves or stems – this can damage the plant.
For stubborn cases, run a knife around the inside edge of the pot to separate the root ball. If the plant is severely root-bound, you might need to break the pot as a last resort. Always prioritize the plant’s health over saving the container.
Once removed, shake off excess soil to expose the roots. This will make it easier to assess the plant’s condition and prepare it for its new pot.
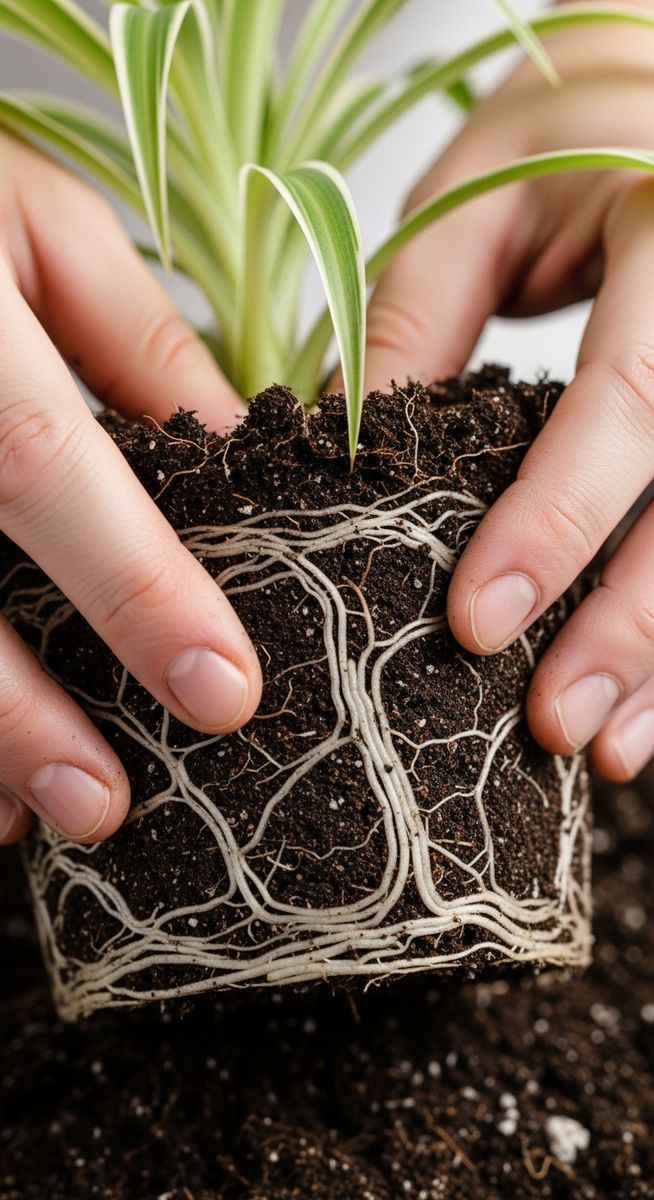
2. Root Inspection and Trimming
Examine the roots closely for any signs of damage or disease. Healthy roots should be firm and light-colored. Cut away any roots that are soft, mushy, or dark – these are likely rotting and can harm the plant.
If the roots are tightly wound, gently tease them apart with your fingers. This encourages them to grow outward in the new pot. For severely tangled roots, make a few vertical cuts in the root ball with clean, sharp scissors.
Trim back about a third of the roots to stimulate new growth. This might seem drastic, but it’s beneficial for the plant’s long-term health. Make clean cuts and avoid tearing the roots.
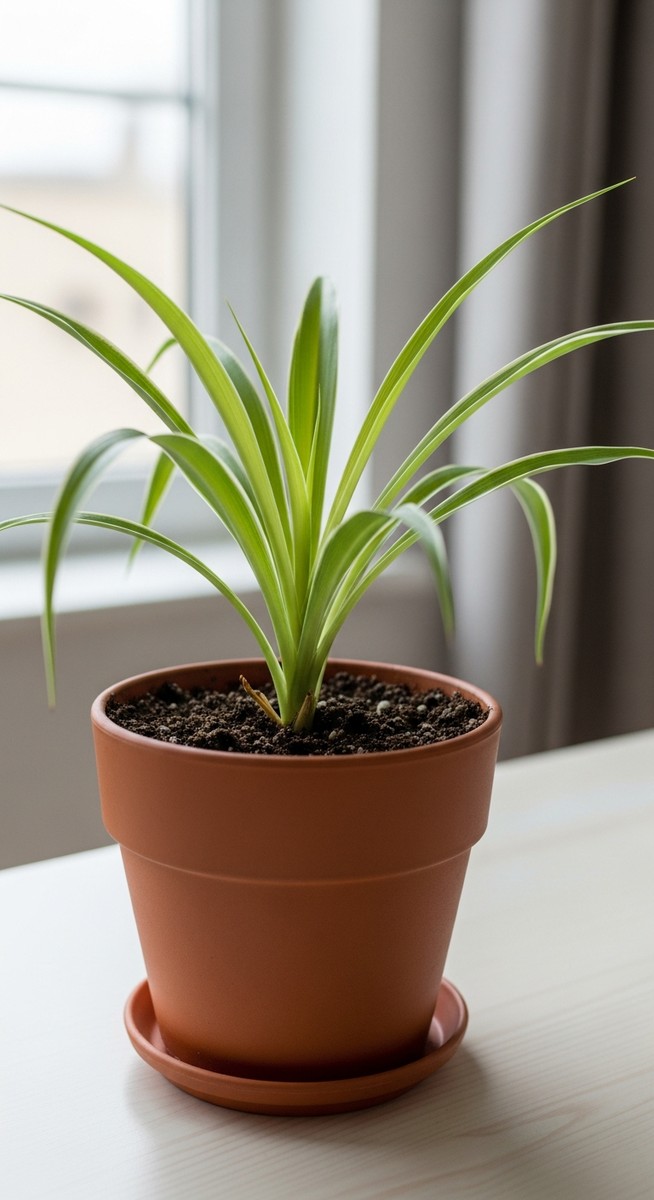
3. Planting in the New Pot
Choose a pot that’s 1-2 inches larger in diameter than the previous one. Ensure it has drainage holes to prevent water-logging. Place a layer of fresh potting mix in the bottom of the new pot.
Position your spider plant in the center of the pot, holding it at the right height so the soil line will be about an inch below the rim. Fill in around the roots with potting mix, gently pressing it down to remove air pockets.
Water your spider plant thoroughly until it drains from the bottom. This helps settle the soil and ensures good root contact. Place your newly potted spider plant in a spot with bright, indirect light. Avoid fertilizing for a few weeks to allow the plant to adjust to its new home.
Post-Repotting Care
After repotting your spider plant, it needs special attention to thrive in its new home. Proper watering, adjustment time, and ongoing care are crucial for its recovery and growth. Follow these steps to ensure your plant settles in well and continues to flourish.
Watering After Repotting
As mentioned above, water your spider plant thoroughly right after repotting. This helps settle the soil and reduces air pockets around the roots. Let the top inch of soil dry out before watering again. Don’t overwater – spider plants prefer slightly dry conditions.
Check the soil moisture regularly in the first few weeks. The new pot size and soil mix might change how quickly the plant uses water. Adjust your watering schedule as needed.
If you notice yellowing leaves, you might be overwatering. Cut back and let the soil dry out more between waterings. Brown leaf tips on your spider plant can also often mean the plant needs more water or humidity.
Adjusting to New Soil and Pot
Your spider plant needs time to adapt to its new environment. Place it in a spot with bright, indirect light. Avoid direct sunlight, which can stress the plant while it’s recovering.
Don’t fertilize your spider plant for the first month after repotting. The new soil likely has enough nutrients, and fertilizing too soon can burn the roots. After a month, start with a diluted, balanced fertilizer – I really like the one below.

Miracle-Gro Water Soluble All Purpose Plant Food
⭐⭐⭐⭐⭐
The best fertilizer for Spider Plants, boosting healthy foliage and encouraging new growth. Safe and effective for keeping your plant strong and thriving
Watch for signs of stress like wilting or leaf discoloration. These could mean the plant is struggling to adjust. If you see these signs, check the soil moisture and light conditions.
Continued Care and Maintenance
Once it’s settled in, you’ll need to maintain a regular care routine for your spider plant. Water when the top inch of soil feels dry. In spring and summer, fertilize monthly with a balanced, water-soluble fertilizer.
Prune yellowing or brown leaves to keep the plant looking fresh. This also helps the plant focus energy on new growth. Remove any baby plants (spiderettes) if you don’t want to propagate your spider plant just yet.

Keep an eye out for pests like spider mites or mealybugs. If you spot any, it’s best to act as quickly as possible.
How to Get Rid of Pests on Your Houseplants
If you notice pests on your indoor plants, follow these steps to tackle the problem before it gets worse:
- Start with manual removal – For minor infestations, wipe leaves with a cotton swab dipped in rubbing alcohol or rinse the plant under lukewarm water to remove pests by hand.
- Use neem oil or insecticidal soap – If pests persist, treat your plant with neem oil or insecticidal soap (those are my preferred ones!), both of which target common houseplant pests without harming your plant.
- Apply a houseplant-safe pesticide – For severe cases that don’t respond to other treatments, use a broad-spectrum pesticide designed for indoor plants to eliminate stubborn pests – I use this pesticide for tough infestations.
By acting quickly and using the right treatments, you can keep your houseplants pest-free and thriving!
Troubleshooting Common Issues
Spider plants are generally hardy, but they can face challenges during repotting. Quick action and proper care can help resolve most problems. Let’s look at some common issues and how to address them.
Overcoming Transplant Shock
Transplant shock can cause wilting leaves and slow growth in your spider plant. To help it recover, place the newly repotted plant in a spot with indirect light.
Water it sparingly, keeping the soil slightly moist but not soggy. Avoid fertilizing for a few weeks to give the roots time to adjust.
Trim any yellowing or damaged leaves to help the plant focus its energy on new growth. If you notice significant leaf drop, mist the remaining foliage lightly to increase humidity. Be patient – it may take a few weeks for your spider plant to bounce back fully.
Dealing with Pest Infestations
Spider plants can attract pests like spider mites, mealybugs, and aphids. Check your plant regularly for signs of infestation, such as tiny webs, white fuzzy spots, or clusters of small insects. If you spot pests, isolate the affected plant to prevent spread.
For mild infestations, wipe the leaves with a damp cloth or spray them with a mixture of water and mild soap.
Neem oil is an effective natural pesticide for more stubborn cases. Apply it every 7-10 days until the pests are gone.
To prevent future infestations, keep your spider plant’s environment clean and avoid overwatering. Regularly dust the leaves and inspect them for early signs of pests.
Healthy plants are more resistant to infestations, so maintain proper care routines.
Frequently Asked Questions
Spider plants are popular houseplants that may need repotting as they grow. Knowing when and how to repot them is crucial for their health and continued growth.
When should you repot a spider plant?
You should repot a spider plant when it outgrows its current container. This typically happens every 1-2 years. Look for signs like roots growing out of drainage holes or the plant becoming top-heavy. Spring and early summer are ideal times for repotting.
Repotting gives your spider plant fresh soil and more room to grow. It also allows you to check the roots for any issues.
How do you repot an overgrown spider plant?
To repot an overgrown spider plant, start by gently removing it from its current pot. Loosen the root ball and trim any damaged roots. Choose a new pot that’s 1-2 inches larger in diameter than the old one.
Place fresh potting mix in the bottom of the new pot. Set the plant in and fill around it with more soil. Water thoroughly after repotting to help the plant settle in.
What is the best potting mix for a spider plant?
The best potting mix for a spider plant is well-draining and slightly acidic. A good mix includes peat moss, perlite, and regular potting soil. This combination provides nutrients while ensuring proper drainage.
Miracle-Gro Houseplant Potting Mix
⭐⭐⭐⭐⭐
The best soil for Spider Plants, designed to keep them thriving indoors. With excellent drainage and key nutrients, it promotes strong roots and vibrant, arching leaves.
You can also add some compost or slow-release fertilizer to the mix. This will give your spider plant a nutrient boost as it adjusts to its new home.
Should I repot my spider plant during the winter months?
It’s best to avoid repotting spider plants during winter. They’re usually dormant during this time and less able to recover from the stress of repotting. Wait until spring when the plant starts showing new growth.
If you must repot in winter, be extra gentle and keep the plant in a warm, humid spot afterward. Avoid fertilizing until spring to prevent root burn.
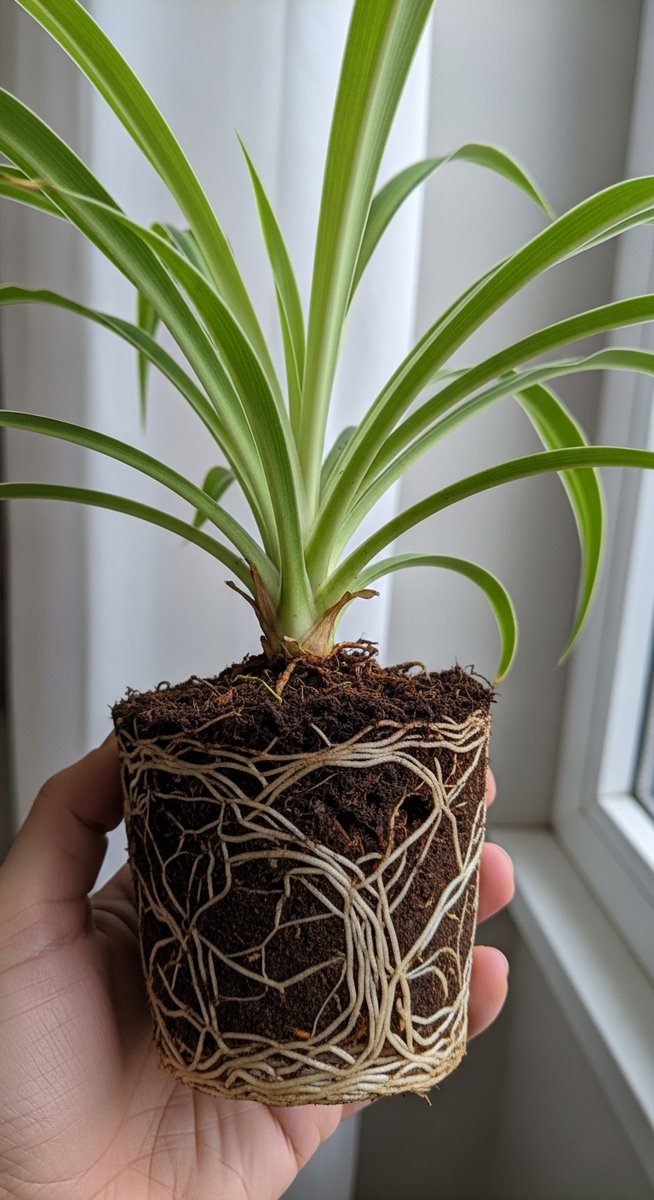
How can you tell if a spider plant is root bound and needs repotting?
A root bound spider plant will show several signs. You might see roots growing out of the drainage holes or circling the top of the soil. The plant may also grow more slowly or need more frequent watering.
If you gently remove the plant from its pot, you’ll see a dense mass of roots. These roots often form a tight ball that holds the shape of the pot.
Is it necessary to trim brown tips when repotting a spider plant?
While not strictly necessary, trimming brown tips when repotting can improve your spider plant’s appearance. Use clean, sharp scissors to cut off the brown parts. Be careful not to cut into the green, healthy leaf tissue.
Trimming brown tips won’t harm your plant. It can actually encourage new growth and make your spider plant look fresher in its new pot.