
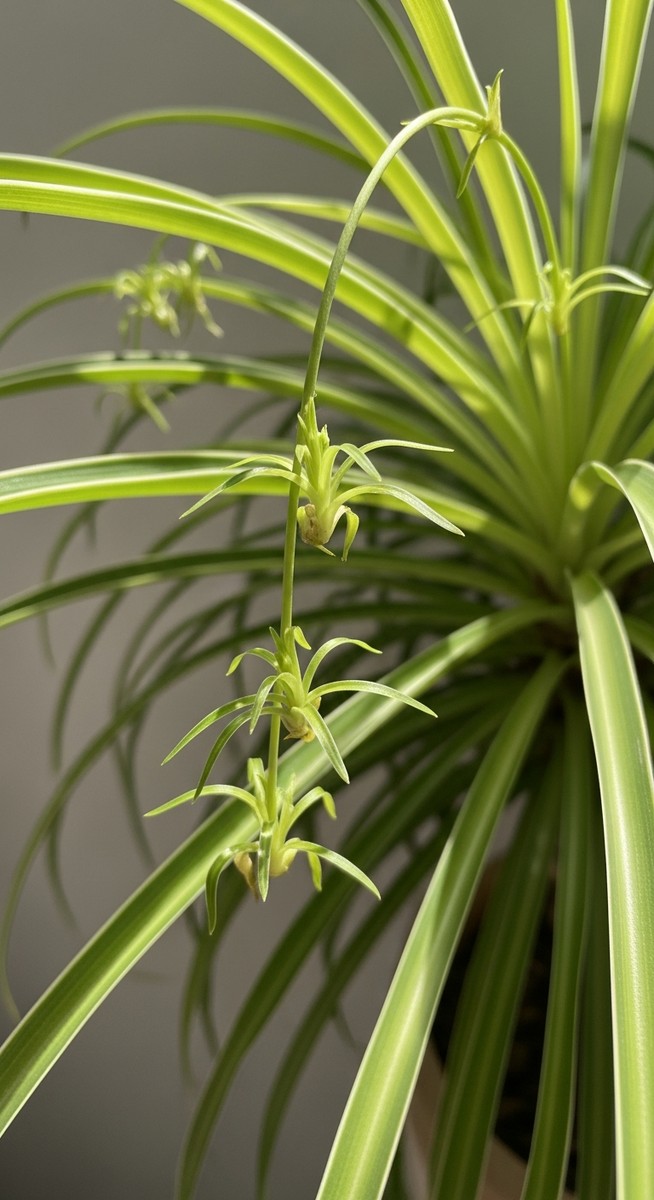
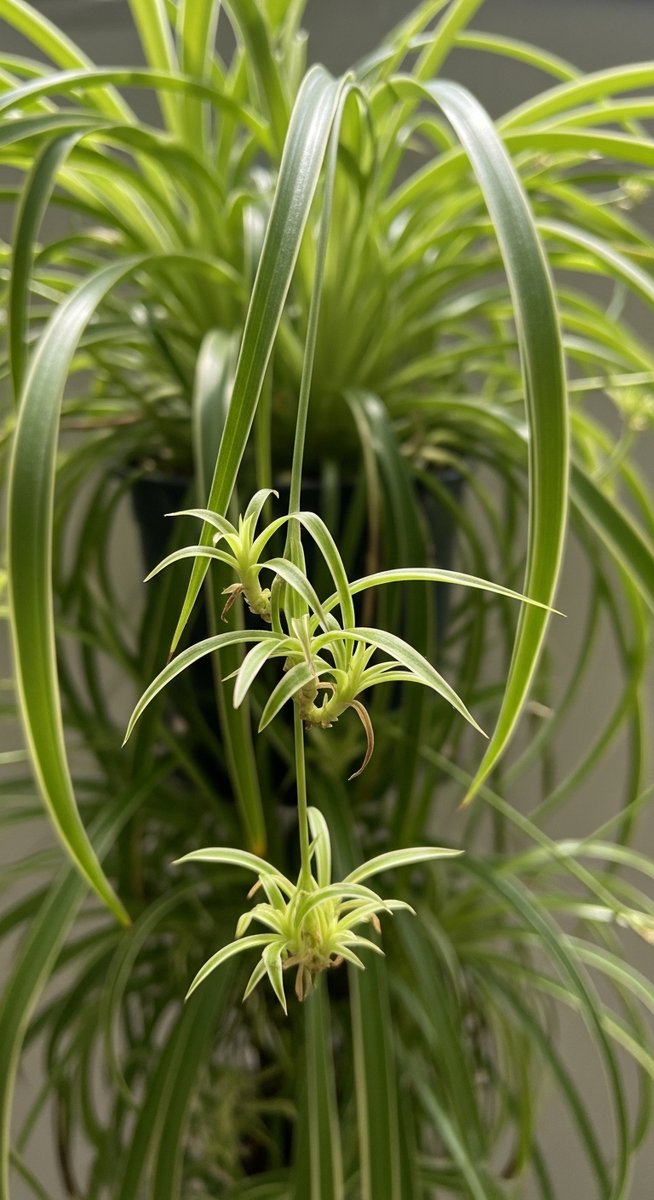
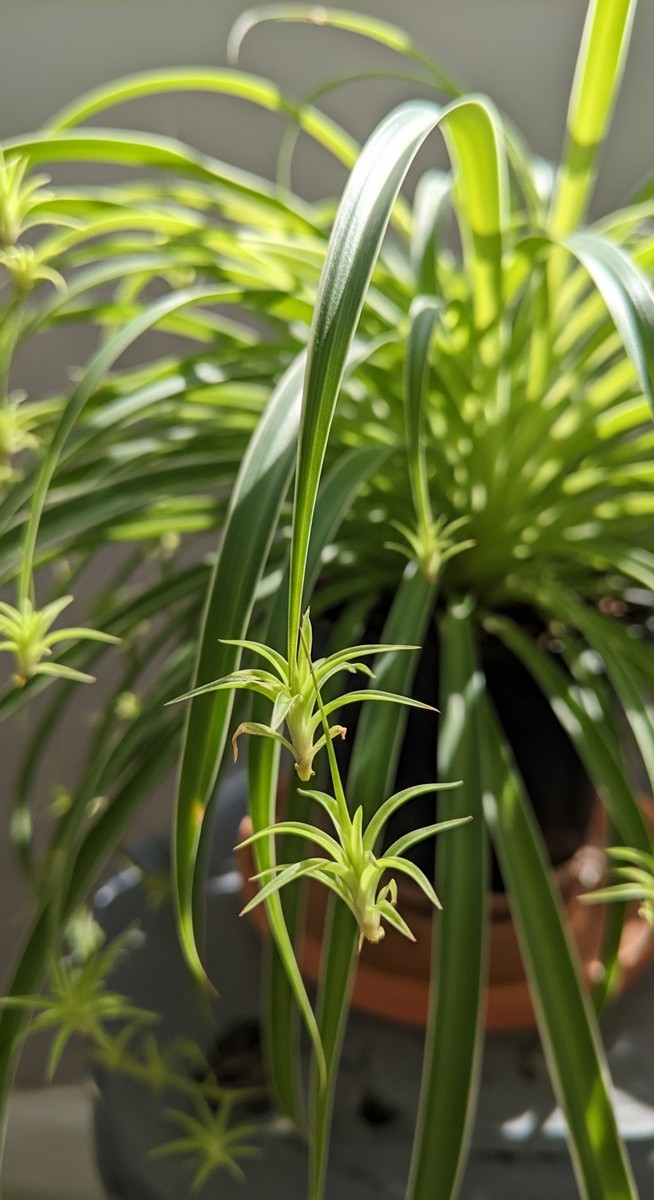
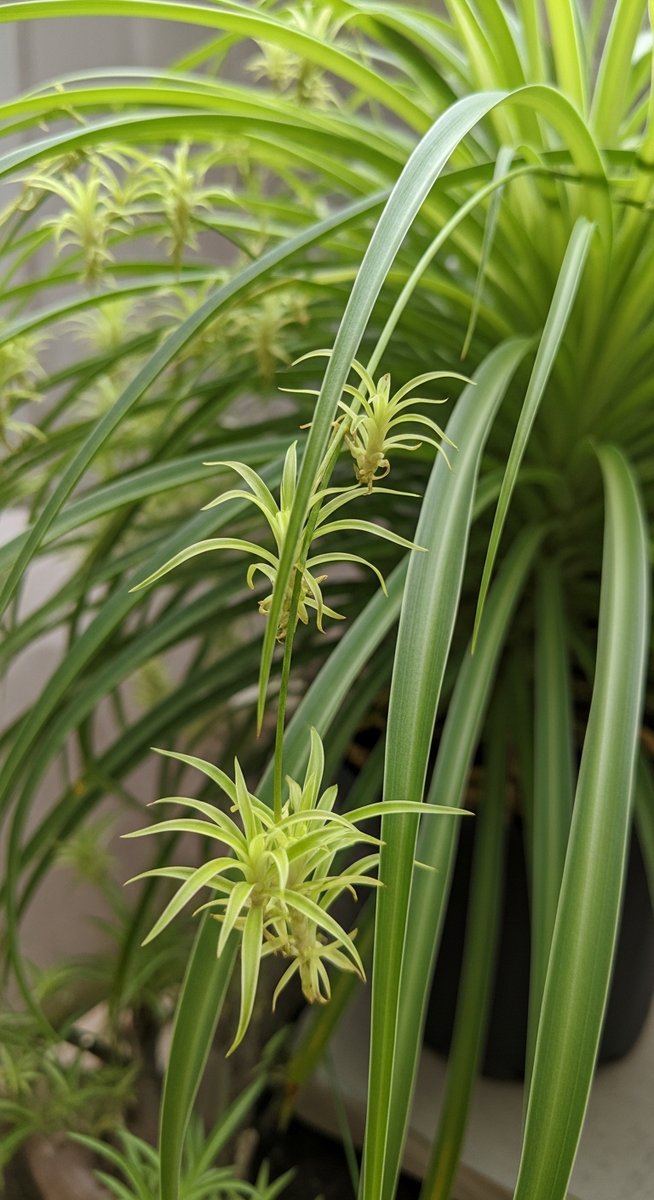
Spider plant babies, also known as spiderettes, are one of the most charming features of this popular houseplant. These little offshoots make it easy to grow new plants or add a fuller look to your existing one.
But when should you separate the babies – and what’s the best way to help them thrive?
Let’s explore how to care for and propagate your spider plant babies successfully.
Table of Contents
Easy Spider Plant Care Guide 💚
⭐ Want one? Get your very own Spider Plant here
💧 Water: Water when the top inch of soil feels dry. Spider plants prefer slightly moist soil but can tolerate occasional drying out. Avoid overwatering to prevent root rot.
🌱 Soil: Use a well-draining potting mix - I personally use this potting mix - which works great, especially with added perlite for better aeration (like that one has).
☀️ Light: Bright, indirect light is ideal, but Spider plants are adaptable and can handle lower light. Avoid direct sunlight, which can cause the leaves to scorch.
🌡️ Temperature: Keep your Spider plant in a room between 65-75°F (18-24°C). They don’t like cold drafts or sudden temperature changes.
🌿 Fertilizer: Feed with a diluted, balanced fertilizer (my top pick is this Miracle-Gro one) once a month during the growing season. Hold off on fertilizing in fall and winter.
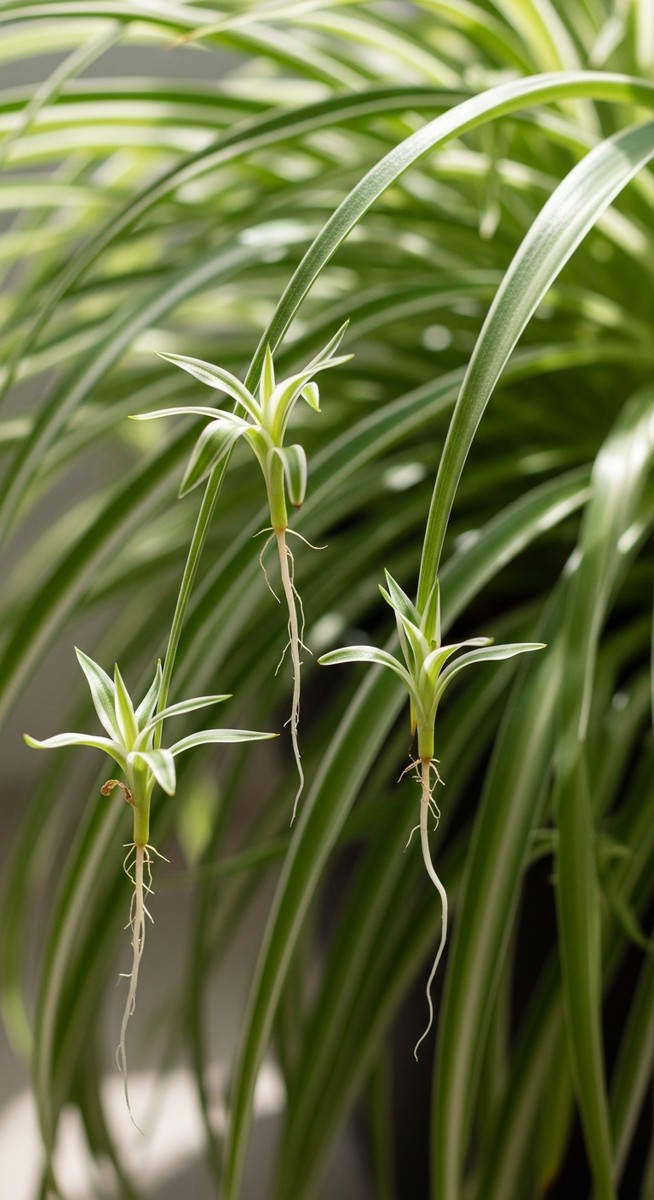
What Are Spider Plant Babies?
Spider plant babies are miniature versions of the parent plant. They develop at the end of long, arching stems called stolons. These babies have their own leaves and roots, making them ready to grow into new plants. They’re usually about 2-3 inches in diameter when fully formed.
These babies are a perfect way to propagate new spider plants. You can easily snip them off and plant them in soil or water.
They’ll quickly take root and grow into full-sized spider plants. This makes them popular for sharing with friends or expanding your own collection.
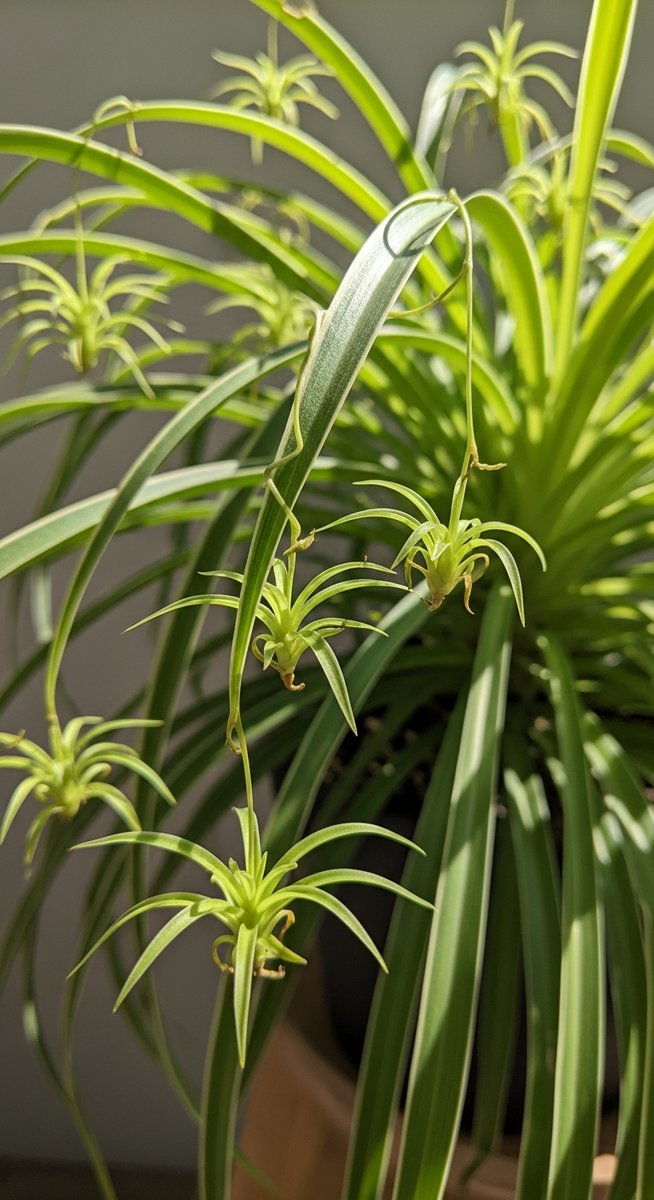
Lifecycle of Spider Plant Offshoots
Spider plant babies start as small buds on the stolon. As they grow, they develop leaves and aerial roots. These roots help them absorb moisture and nutrients from the air. Once the babies are mature, they’re ready to be separated from the parent plant.
After planting, spider plant babies go through a rapid growth phase. They’ll develop a stronger root system and more leaves.
In about 6-8 weeks, they’ll look like small versions of the parent plant. With proper care, these babies will grow into full-sized plants within a year.
Adult spider plants will continue to produce babies throughout their lifetime. This cycle of growth and reproduction can go on for many years, given the right conditions.
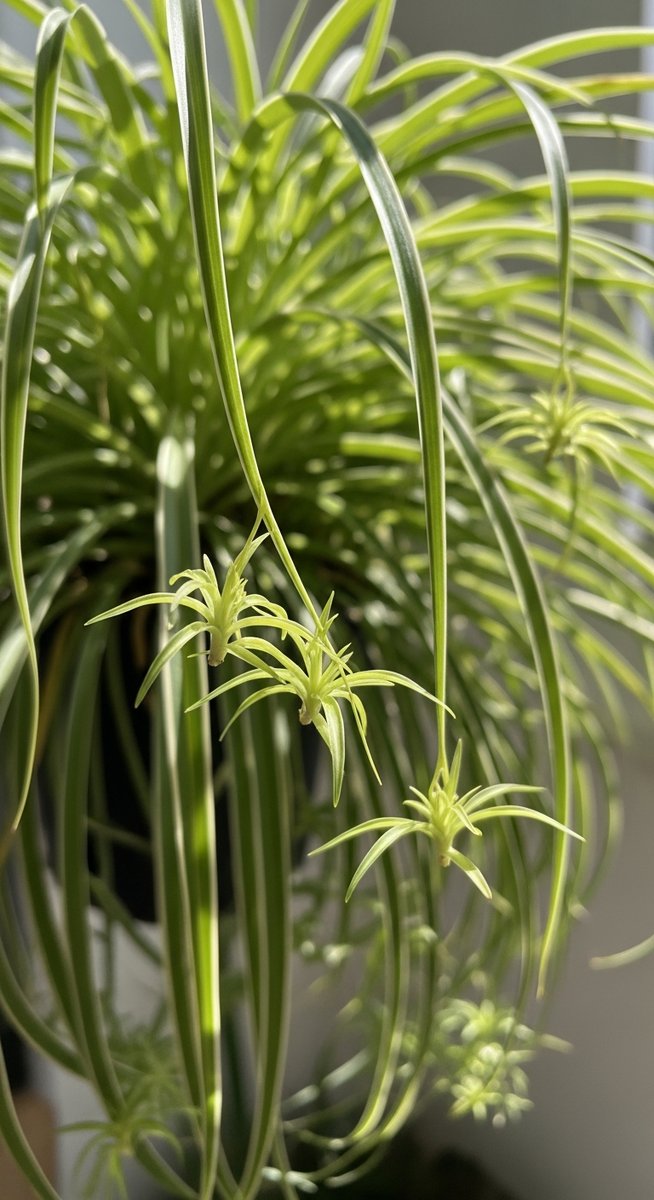
Common Names for Spider Plant Babies
Spider plant babies go by several nicknames. “Spiderettes” is a popular term, reflecting their connection to the parent plant. Some people call them “pups” or “plantlets,” which are general terms for plant offshoots.
“Runners” is another name you might hear, referring to the long stems they grow on. In scientific circles, these stems are called “stolons,” but that’s not a term most gardeners use day-to-day.
Regardless of what you call them, these little plants are easy to grow and care for. They’re a fun way to expand your indoor garden or share plants with friends.
Propagation Basics
Spider plant babies, also known as spiderettes or pups, are easy to propagate. These offshoots grow naturally from the mother plant, making them perfect for creating new plants.
With the right technique, you can expand your spider plant collection quickly and effortlessly.
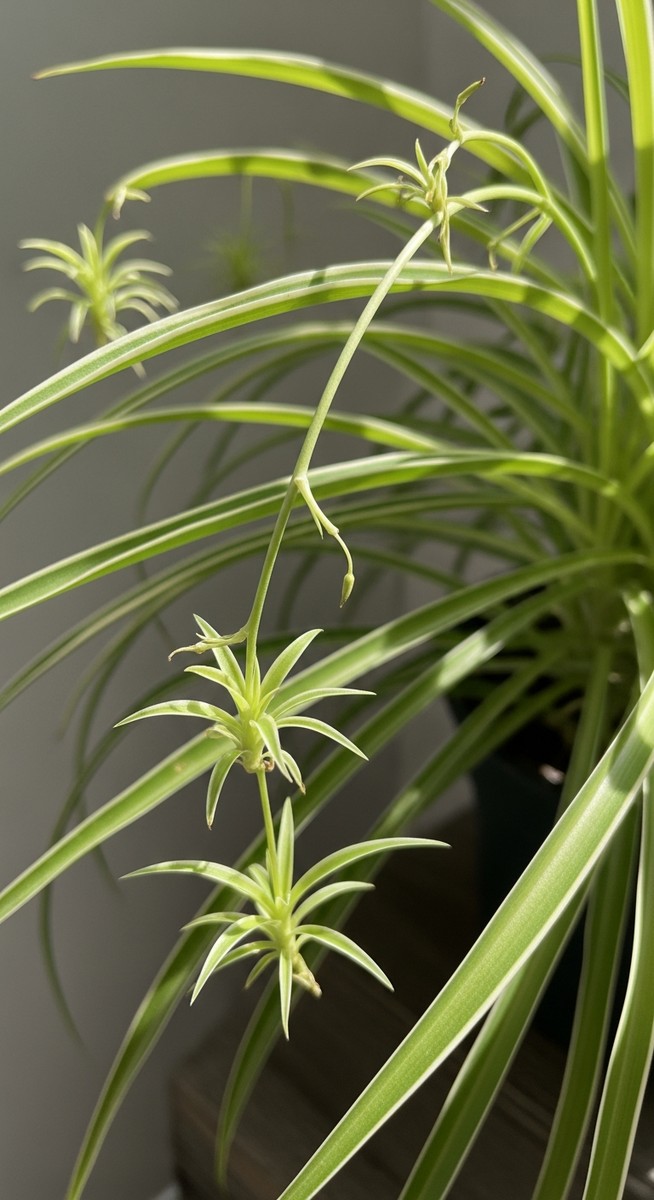
When to Propagate Spider Plant Babies
The best time to propagate spider plant babies is during the growing season – spring and summer. This gives the new plants plenty of time to establish roots before winter. Look for pups that are at least 2 inches long and have small roots starting to form.
Don’t rush to remove babies too early. Letting them grow larger on the mother plant increases their chances of survival. You can propagate year-round if you live in a warm climate or have a greenhouse, but growth may be slower in cooler months.
Selecting Healthy Spider Plant Pups
Choose pups that look strong and vibrant for the best results. Look for these signs of a healthy spider plant baby:
- Firm, green leaves
- No brown or yellow spots
- Small roots starting to form
- At least 2-3 inches in length
Avoid pups that seem weak, discolored, or have damaged leaves. These might struggle to grow into healthy plants. It’s better to wait for stronger offshoots to develop.
If you’re unsure, leave the baby attached to the mother plant a bit longer. This gives it more time to develop and increases its chances of successful propagation.
Preparing for Propagation
Propagating Spider Plant babies is a simple and rewarding process. With the right supplies and methods, you can easily grow new plants from the offshoots. You’ll have options to root them in water or plant directly in soil, depending on your preference.
Gathering the Necessary Supplies
You’ll need a few key items to start propagating your Spider Plant babies. Get clean, sharp scissors or pruning shears to cut the plantlets from the mother plant.
Choose small pots with drainage holes – 4-inch containers work well for new plants. Pick up a well-draining potting mix, as Spider Plants don’t like soggy soil (my preferred one is below!).

Miracle-Gro Houseplant Potting Mix
⭐⭐⭐⭐⭐
The best soil for Spider Plants, designed to keep them thriving indoors. With excellent drainage and key nutrients, it promotes strong roots and vibrant, arching leaves.
Alternatively, if you’re water propagating, grab some clear glass jars or vases.
For soil planting, you might want rooting hormone powder to encourage root growth (I use this one), though it’s not essential. A spray bottle for misting and a small trowel can be helpful too.
Don’t forget plant labels to keep track of your propagation dates!
Rooting Spider Plant Babies in Water
Water propagation is a popular method that lets you watch roots develop. Start by cutting a plantlet from the mother plant, leaving about an inch of the stem attached.
Remove any lower leaves that would be underwater. Place the baby plant in a jar of room temperature water, making sure the base is submerged but leaves are above water.
Change the water every few days to keep it fresh and prevent bacteria growth. Place the jar in a spot with bright, indirect light.
You should see roots starting to form within a week or two. Once the roots are about an inch long, you can plant the baby in soil.
This method is great for beginners as it’s easy to monitor progress.
Planting Spider Plant Babies Directly in Soil
Planting directly in soil can lead to stronger root systems. Choose a plantlet that’s at least 2 inches long and has some small roots visible.
Cut it from the mother plant, leaving a short stem. Fill your pot with potting mix, leaving space at the top. Make a small hole in the soil with your finger or a pencil.
If using rooting hormone, dip the cut end in the powder. Gently place the baby plant in the hole and press soil around it.
Water lightly and place in a warm spot with indirect light. Keep the soil slightly moist but not waterlogged. In a few weeks, you should see new growth, indicating successful rooting.
Caring for New Spider Plant Babies
Spider plant babies require specific care to thrive and grow into healthy mature plants. Proper soil, watering, light, and fertilization are key factors in nurturing these young plantlets.
Ideal Soil Conditions
Spider plant babies need well-draining soil to prevent root rot. Use a mix of potting soil, peat moss, and perlite in equal parts. This combination ensures good aeration and moisture retention without becoming waterlogged.
Fill small pots with drainage holes using this soil mix. Gently plant the baby spider plants, making sure their roots are covered but not too deeply buried.
Press the soil lightly around the base to secure the plantlet.
Repot your spider plant babies every 12-18 months as they grow. Choose a pot that’s 1-2 inches larger in diameter than the current one to allow for root growth.
Watering Your Newly Propagated Spider Plants
Water your new spider plants when the top inch of soil feels dry to the touch. Don’t let the soil dry out completely, but avoid overwatering – it’s a common mistake that can lead to root problems.
Use room temperature water and pour it slowly around the base of the plant. Let excess water drain out completely. Empty any water that collects in the saucer beneath the pot.
During winter, reduce watering frequency as growth slows down. Always check the soil moisture before watering to avoid oversaturating your young plants.
Providing Adequate Light
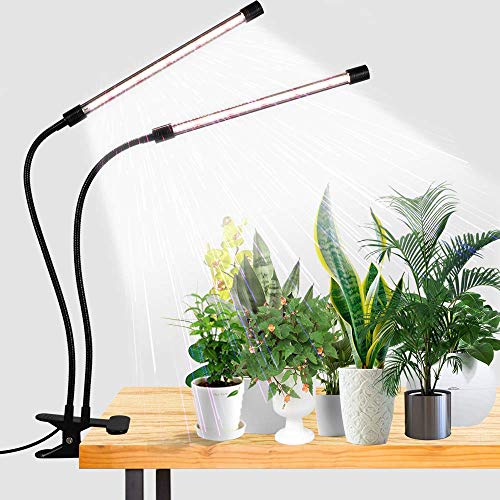
Spider plant babies thrive in bright, indirect light. Place them near a north or east-facing window where they’ll receive plenty of light without direct sun exposure. Too much direct sunlight can scorch their leaves.
If you don’t have suitable natural light for your spider plants, use fluorescent grow lights. Position the lights about 6-12 inches above the plants and keep them on for 12-16 hours daily.
GooingTop LED Grow Light (6000K, Clip-On, Full Spectrum)
⭐⭐⭐⭐⭐
✅ Full-spectrum 6000K light that perfectly mimics natural sunlight, promoting healthy indoor plant growth
✅ Flexible gooseneck and strong clamp for easy positioning to provide the best lighting angle
✅ Timer function and energy-efficient LEDs make it a hassle-free, cost-effective way to keep plants thriving year-round
Rotate your plants every few days to ensure even growth. If leaves start to yellow, it might indicate too much light – move them to a slightly shadier spot.
Fertilizing Your Spider Plantlets
Start fertilizing your spider plant babies about a month after planting. Use a balanced, water-soluble fertilizer diluted to half strength, like my preferred one below.

Miracle-Gro Water Soluble All Purpose Plant Food
⭐⭐⭐⭐⭐
The best fertilizer for Spider Plants, boosting healthy foliage and encouraging new growth. Safe and effective for keeping your plant strong and thriving
Apply it every 2-4 weeks during the growing season (spring and summer).
Don’t fertilize in fall and winter when growth slows down. Over-fertilizing can lead to brown leaf tips and other issues.
If you notice salt buildup on the soil surface, flush the pot with water to remove excess minerals.
As your plants mature, you can gradually increase the fertilizer strength. Always follow the product instructions and err on the side of under-fertilizing rather than over-fertilizing.
Frequently Asked Questions
Spider plant babies are easy to propagate and care for. They can be grown in water or soil, and make attractive displays in homes and offices. Here are some common questions about spider plant babies:
How can I propagate spider plant babies?
Cut the baby plant from the stem connecting it to the mother plant. Use clean, sharp scissors to make a clean cut. Place the baby in a small container with water, ensuring the root area is submerged. Change the water every few days to keep it fresh.
Once roots develop, transfer the baby to a pot with well-draining soil.
What steps should I follow to grow spider plant babies in water?
Fill a small glass or jar with room temperature water. Place the spider plant baby in the container so its base is submerged. Position the container in bright, indirect light. Change the water every 3-4 days to prevent algae growth.
Wait for roots to develop – this usually takes 1-2 weeks.
At what point should I separate babies from the mother spider plant?
Separate babies when they’ve grown to about 2-3 inches in size. Look for small roots beginning to form at the base of the baby plant. This is a sign they’re ready to be removed. Gently cut the connecting stem close to the mother plant using clean scissors or pruning shears.
Can spider plant babies be planted directly into soil, and if so, how?
Yes, you can plant spider plant babies directly in soil. Choose a pot with drainage holes and fill it with well-draining potting mix. Make a small hole in the soil and place the baby plant’s base in it.
Gently press the soil around the plant to secure it. Water lightly and place in bright, indirect light.
How long does it typically take for spider plant babies to root?
Spider plant babies usually start developing roots within 1-2 weeks. The process can take up to 3-4 weeks for a strong root system to form. Factors like temperature, light, and water quality can affect rooting time. Be patient and maintain consistent care for your spider plants during this period.
What are some creative ways to display spider plant babies?
One great way you can show off your spider plant babies is to hang them in small macramé plant holders near windows. Alternatively, why not find some tiny terracotta pots painted in fun colors or patterns. You can also place them in quirky containers, like teacups or vintage tins.
Some other ideas? Create a “living curtain” by hanging multiple babies at different lengths. Display them in test tubes or small vases on a windowsill for a modern look.
There’s a whole word of creative options out there!