Knowing when to repot a Calathea can make all the difference in keeping it healthy and happy. If you’re seeing signs that your Calathea might need more room, it’s likely time to think about a fresh pot.
But repotting these plants isn’t as straightforward as just picking a new container – there’s a bit of timing and technique to get right.
So, how do you tell when your Calathea is ready, and what’s the best way to make the move without stressing it out?
Let’s get into what you need to know to keep your Calathea thriving.

Miracle-Gro Tropical Potting Mix
⭐⭐⭐⭐⭐
The best soil for Calatheas, providing the perfect mix of moisture retention and drainage. Packed with nutrients and lava rock for aeration, it helps keep Calatheas’ delicate roots healthy and their foliage vibrant.
Table of Contents
Easy Calathea Care Guide 💚
⭐ Want one? This green and pink Calathea Makoyana is stunning, while this deep purple Calathea Dottie makes an incredible statement piece in your home.
💧 Water: Water when the top inch of soil feels dry. Calatheas love consistent moisture but don’t let the soil get soggy or waterlogged. Use filtered or distilled water to avoid leaf browning.
🌱 Soil: Use a well-draining potting mix - I personally use this potting mix. A mix with peat or perlite, like this one, works well to retain the right amount of moisture.
☀️ Light: Bright, indirect light is best. Avoid direct sunlight, which can scorch their delicate leaves, and low light, which may slow their growth.
🌡️ Temperature: Keep your Calathea in a room between 65-80°F (18-27°C). Protect it from cold drafts and sudden temperature changes.
🌿 Fertilizer: Feed with a diluted, balanced fertilizer (my top pick is this Miracle-Gro one) once a month during spring and summer. Skip feeding in fall and winter.
Identifying the Right Time to Repot
Knowing when to repot a Calathea can keep your plant healthy and thriving. Observing signs of a rootbound plant and changes in growth can guide you in deciding the best time for repotting.
Signs of a Rootbound Calathea
Rootbound plants can’t absorb nutrients effectively, which affects their overall health. Watch for the roots growing out of the drainage holes, indicating the plant is seeking more space.
Additionally, a slowed growth rate may suggest the roots are crowded.
Changes in leaf color, like if you notice yellowing in your Calathea leaves or that they’re wilting, are warning signs. If the soil dries out quickly after watering, this might also suggest that the roots have consumed too much room, emphasizing the need for repotting.
Growth Observations
The growing season, typically spring and summer, is the ideal time to repot. During this period, your Calathea actively grows, and repotting during this time helps it adapt better to new conditions.
It’s best not to repot your Calathea outside of these seasons unless absolutely needed, as the plant can have problems in recovering from its repotting. That is, if you see your plant really struggling and think that it’s showing signs of root rot in your Calathea or being rootbound, then you may wish to take the risk.
If you notice your plant has become stunted or the leaves look less vibrant, it might be struggling with space. Observing these growth patterns helps in identifying the best moment to give your Calathea a new pot to flourish.
Selecting the Appropriate Pot and Soil
When repotting a Calathea, it’s important to choose the right pot with adequate drainage and prepare an ideal potting soil to ensure healthy growth. Both aspects significantly influence moisture retention and prevent issues like root rot.
Choosing a Pot with Proper Drainage
Select a pot with drainage holes to allow excess water to escape. This feature is crucial as Calatheas prefer moist but not waterlogged soil.
Using a pot without drainage increases the risk of oversaturating the roots, leading to root rot.
Consider the pot’s material as well. Terracotta pots are a great option since they’re porous, allowing soil to breathe. Another option is plastic pots, which are lightweight and often come with enough drainage holes.
Avoid pots made from poorly draining materials unless you’re sure they have enough holes or you’ll be adding them yourself. Always aim for a pot size that allows space for your plant’s roots to extend comfortably.
Mixing the Ideal Potting Soil
For the best potting mix for your Calathea, start with fresh potting soil as the base. Aim for a blend that retains moisture while still draining well.
Typical components include peat moss or coco coir for moisture retention and perlite to improve drainage.
You might also incorporate some pine bark or vermiculite to maintain the right balance of air and water. These materials help create a light and airy texture, allowing roots to grow and access oxygen.
It’s important to use a fresh potting mix to provide nutrients and prevent compaction. Avoid using garden soil as it’s too dense and might suffocate the roots.
The Repotting Process Step by Step
Transplanting your Calathea varies depending on factors like its growth and health. You’ll need to prepare properly, handle the plant carefully during the move, and provide adequate care afterward to ensure success.
1. Preparing for Repotting
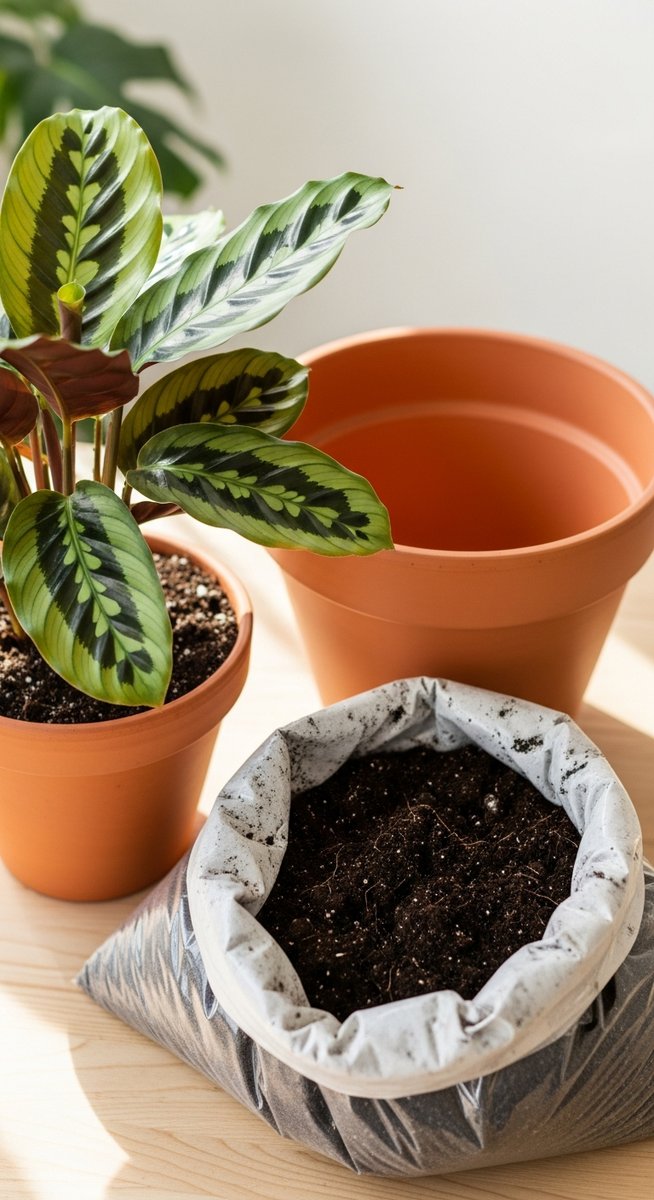
Before repotting, gather all necessary materials. You’ll need a new pot that’s about 2 inches wider than the current one to give the roots room to grow.
Opt for a pot with drainage holes to prevent water from accumulating, which can lead to root rot.

Prepare a well-draining soil mix. A standard mix of potting soil combined with perlite or orchid bark works well, as it provides good aeration and drainage.
Miracle-Gro Tropical Potting Mix
⭐⭐⭐⭐⭐
The best soil for Calatheas, providing the perfect mix of moisture retention and drainage. Packed with nutrients and lava rock for aeration, it helps keep Calatheas’ delicate roots healthy and their foliage vibrant.
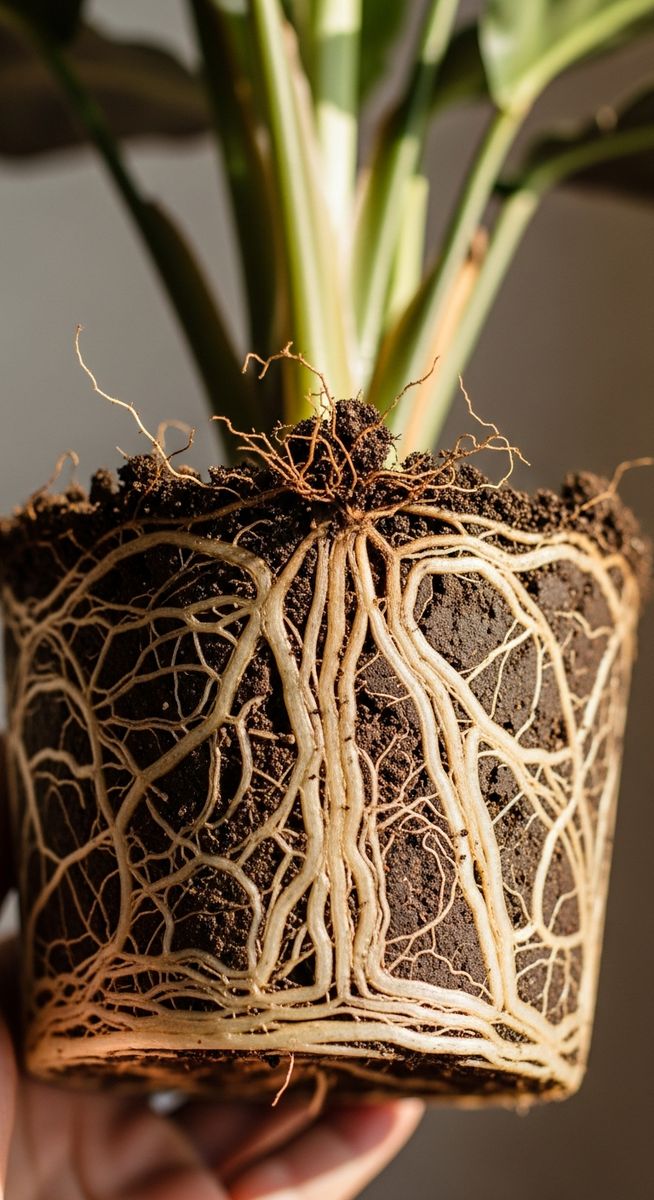
Inspect the plant for signs of overgrowth or root-bound conditions. You’ll notice if your plant has roots coming out of the pot’s drainage holes.
Removing your Calathea gently from its pot can reveal more about its root health.
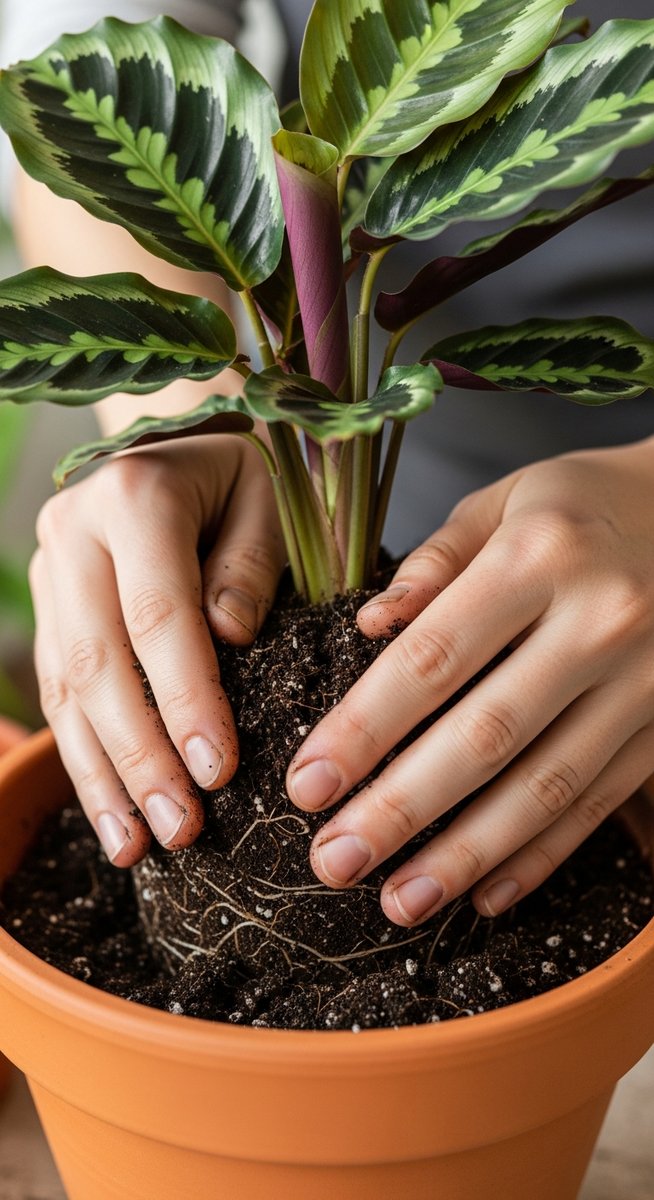
2. Transplanting Your Calathea
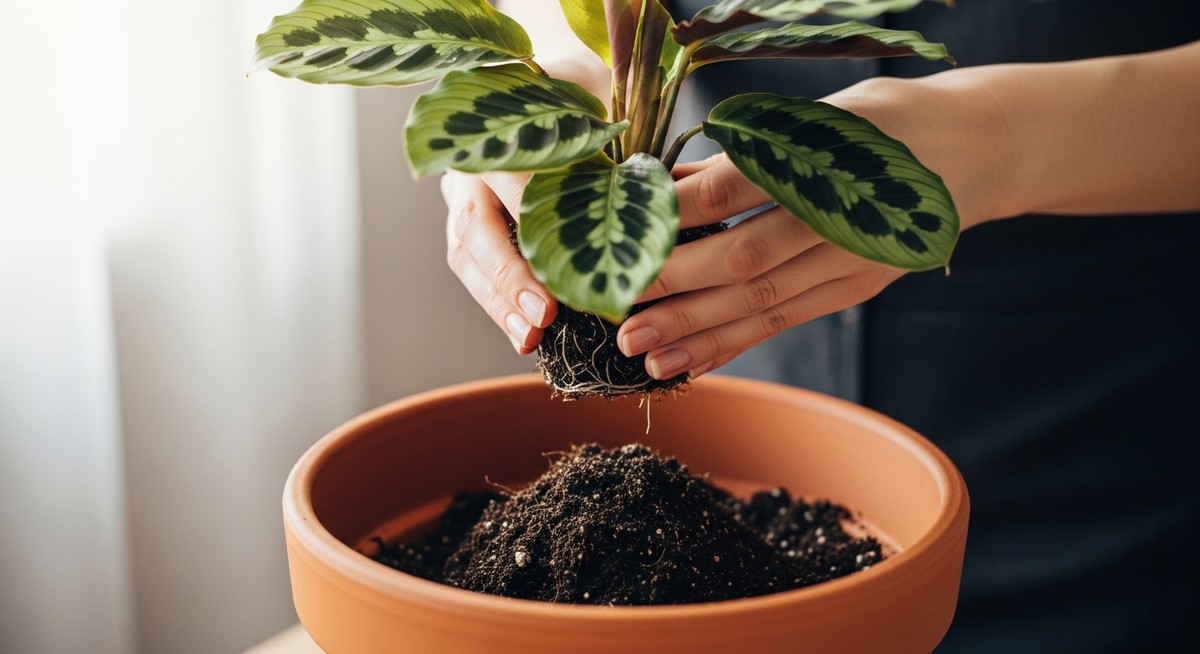
To start, carefully remove your Calathea from its current pot. Turn the pot sideways while supporting the base of the plant with your hand, and gently slide the plant out. If it doesn’t come out easily, lightly tap the pot to loosen it.
Once out, examine the roots closely. Trim any that are dead or overly long using sterilized scissors.
This is also a good time to split your Calathea by dividing the roots if you want more plants.
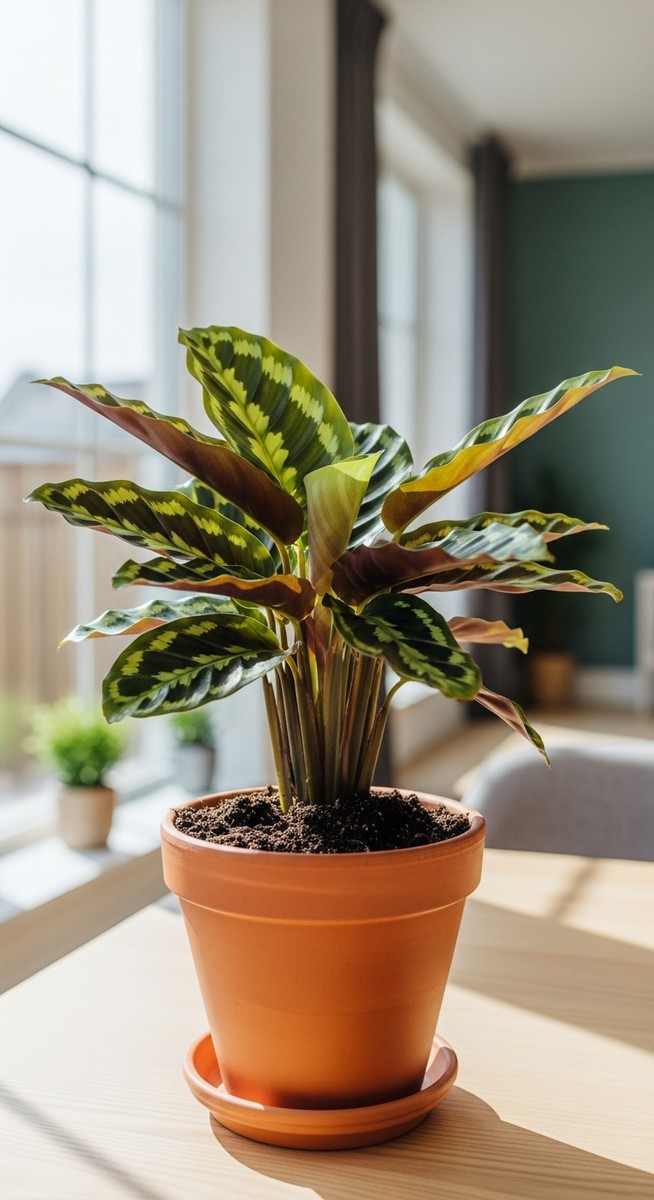
Place the plant in the new pot and fill it with your prepared soil mix. Ensure the plant sits at the same depth as in its previous pot, allowing the top of the root ball to be slightly below the rim.
This helps the plant stay stable and prevents water spillage when watering.
3. Post-Repotting Care
After repotting, water your Calathea thoroughly to help settle the soil and remove any air pockets. Keep the soil evenly moist but not soggy, as Calatheas thrive in humidity but can suffer from overwatering.
Pick a spot with indirect light for your plant. Direct sunlight can damage the leaves, while too little lighting can hinder growth. Balance is key for keeping your Calathea happy and healthy.
Monitor for signs of stress or nutrient deficiency. Wilting or yellowing leaves might indicate a need for fertilizer.
Use a balanced liquid houseplant fertilizer diluted to half-strength, applying every month during the growing season for optimal health.
Nurturing Your Calathea After Repotting
After repotting your Calathea, it’s crucial to provide the right care to help it adjust, focusing on optimal watering and continuing fertilization.
Adapting to New Conditions
Post-repotting, your Calathea may show signs of stress like drooping leaves. It’s adjusting to its new environment. Ensure it’s placed in an area with consistent temperatures.
Calatheas thrive in warm, humid conditions. Avoid drafts from windows or doors and sudden temperature changes.
Keep lighting indirect and avoid direct sunlight as it can harm the leaves. A humidifier or a tray of water and pebbles nearby can provide the moisture levels needed to thrive.
Gradual changes in its environment can support a smoother transition.
Optimizing Watering Techniques
Carefully monitor watering after repotting, as the plant is still adjusting. Overwatering is common, but it’s crucial to maintain moist soil without saturating it.
Allow the top inch of soil to dry out before watering again. This helps prevent root rot.
Underwatering can also be an issue, marked by crispy leaf edges. Using lukewarm distilled water is best since Calatheas can be sensitive to tap water’s chemicals.
Quick Tip: A consistent watering schedule can aid your plant’s recovery.
Continuing Fertilization
After a few weeks, it’s time to reintroduce fertilizer. Too much can shock the plant, but a diluted, balanced houseplant fertilizer is ideal to nourish your Calathea.
Apply once a month during the growing season, typically spring and summer.
Ensure there’s no residual salt buildup from fertilizers, which can damage roots. Discontinue feeding in winter when growth naturally slows down.
Consistent care will help your plant regain its vitality.
Troubleshooting Common Post-Repotting Issues
Repotting Calathea can sometimes lead to problems like root rot, pest infestations, and issues with the foliage. Understanding how to address these challenges can ensure your plant stays healthy and vibrant.
Addressing Root Rot
Root rot is a common issue after repotting if there’s poor drainage. Make sure that the pot has adequate drainage holes to prevent excess water from accumulating.
If you notice mushy, dark roots, remove them carefully. Re-pot the plant in fresh, well-draining soil. You can mix perlite into the soil to improve aeration.
Allow the top inch of the soil to dry out before watering again to avoid further damage to the roots.
Combating Pest Infestations
Pest problems like spider mites can arise after repotting. Inspect your Calathea’s leaves regularly for small webs or spots.
If you find any, act quickly by using a neem oil solution. Mix a few drops of neem oil with water in a spray bottle and apply it to the affected areas.
Consistent treatment every week will keep the pests at bay. Maintaining high humidity levels can also deter spider mites since they thrive in drier conditions.
Managing Foliage Problems
Repotting stress can cause foliage issues, such as yellowing or drooping leaves. To help manage this, make sure your Calathea is in an area with bright, indirect light and consistent humidity.
Avoid placing it in direct sunlight or near drafts, as this can exacerbate foliage problems. Checking and adjusting your watering routine is crucial.
Ensure that the soil remains evenly moist but not waterlogged. Trimming any damaged leaves can also promote healthier growth.