If you’re seeing roots popping out of the soil on your fiddle leaf fig, don’t panic! It’s totally normal for the roots to show once the plant becomes root-bound.
In this article, we’ll cover why your fiddle leaf fig’s roots are showing and what you can do about it.
We’ll also provide tips on how to repot a fiddle leaf fig with its roots exposed.
Table of Contents
Why are my fiddle leaf fig roots showing above the soil?
When fiddle leaf fig roots are showing, this is a sign of a root-bound plant. This means the roots have outgrown the pot and are starting to wrap around the inside of the pot. The only exception is if the plant is growing aerial roots.
Aerial roots are roots that naturally grow out of the trunk and drop down into the soil. They shouldn’t be considered as being a problem for your plant.
A root-bound fiddle leaf fig will often stop growing and producing new leaves. This is because the roots are taking up all the space in the pot and the plant can’t get the nutrients or hydration it needs.
Should the roots be exposed on a fiddle leaf fig?
If the roots are coming from the bottom of the pot, it’s time to repot your plant. These roots are called “bottom roots” and they should be buried in the soil. When they pop above the soil, they risk drying out, which can damage the roots.
If you see any roots coming out of the drainage holes, these are called “top roots” and they should be trimmed back. This will help the roots to reach the nutrients and moisture found in the soil rather than sitting in the drainage water.
Do fiddle leaf figs like to be root bound?
No, fiddle leaf figs do not like to be root bound. This is because a root-bound plant can’t get the nutrients or hydration it needs. If a fiddle leaf fig is left in a pot that’s too small, the roots will start to suffocate and the plant will die.
Some plants like to be root bound (like certain types of succulents), but fiddle leaf figs are not one of them. This is because they are tropical plants and need lots of space for their roots to grow.
How to fix a root-bound fiddle leaf fig
If your fiddle leaf fig is root-bound, here are some fixes that will help the plant to thrive:
1. Repot the plant
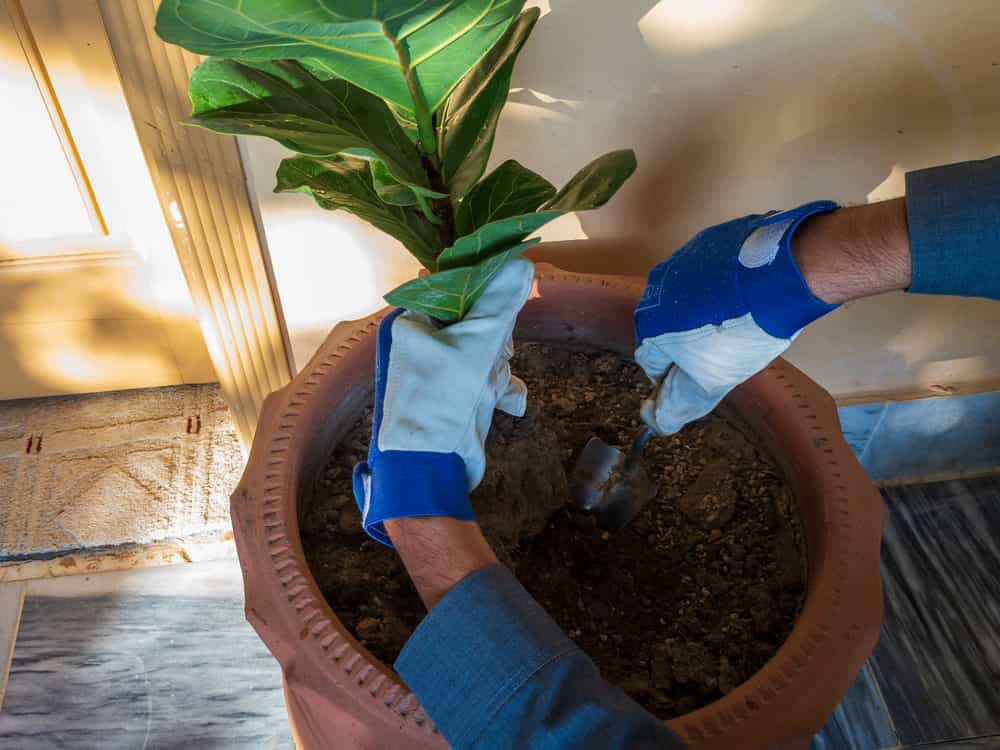
The main solution for a root-bound fiddle leaf fig is to repot it into a larger pot. This will give the roots more space to grow and allow the plant to get the nutrients and hydration it needs.
When you’re ready to repot your fiddle leaf fig, make sure you choose a pot that’s only slightly bigger than the current one, about 2 to 3 inches larger in diameter. This process needs to be done about once every two years to ensure enough room for your plant’s roots.
2. Trim back any roots
If you notice that roots are growing out of the drainage holes, you’ll need to trim them back. This will help prevent root rot in your fiddle leaf fig and ensure that the plant can get the moisture it needs from the soil.
To trim the roots, use a sharp knife or pruning shears and cut them back to about an inch from the pot. Make sure to use clean tools and sterilize them with rubbing alcohol before trimming the roots.
Find out more: How to Prune a Fiddle Leaf Fig
3. Water deeply and regularly
Since a rootbound plant can’t get enough moisture from the soil, you’ll need to water it deeply and regularly. This means watering the fiddle leaf fig until the water comes out of the drainage holes and letting the soil dry out completely between waterings.
You may also want to soak the plant in a tub of water for about 30 minutes to help hydrate the roots. Just make sure you don’t leave the plant in the tub for too long, as this can cause root rot.
4. Add more soil
If there’s enough room in the pot, you can sprinkle an inch or two of soil on top of the current soil and exposed roots. This will help the plant get the nutrients it needs and encourage new growth.
While this isn’t a permanent solution, it can buy you some time as you look for a new plant to transfer your fiddle leaf fig into.
How to repot a fiddle leaf fig with its roots showing
If you need to repot your rootbound fiddle leaf fig plant, here are a few tips:
1. Gather new supplies
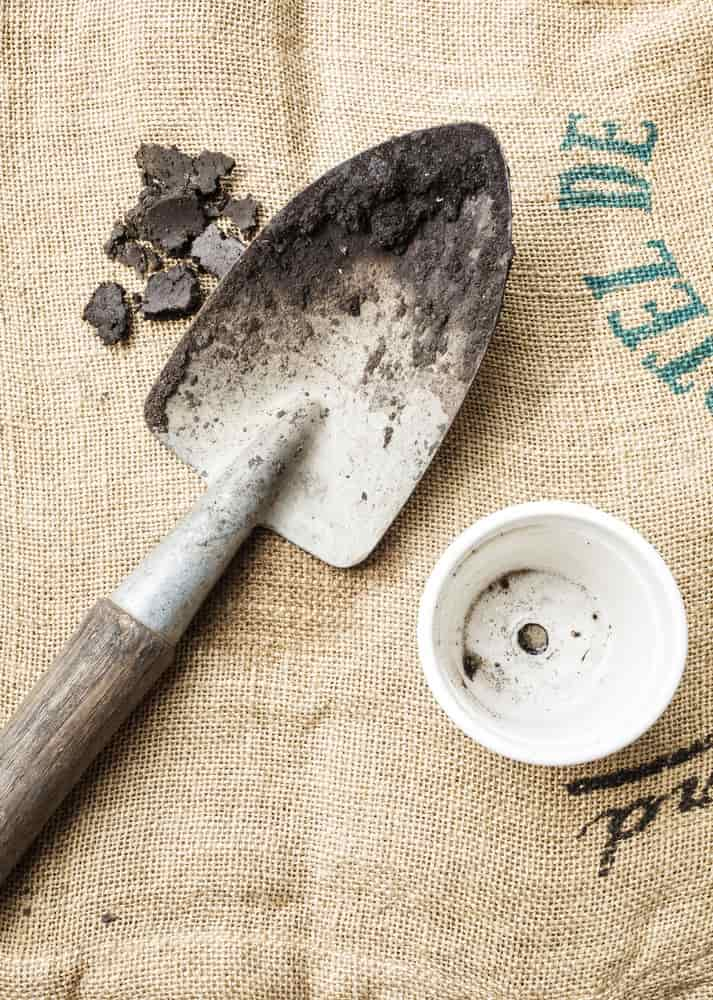
First, you’ll want to gather all of the supplies you’ll need. This includes a pot that is 2-3 inches larger in diameter, fresh soil, a pair of scissors, and a small shovel.
You’ll also want to place all of these materials on a surface that you don’t mind getting a bit messy since you’ll likely get some soil on things. You can also cover the area with newspaper or plastic to minimize the mess.
2. Add soil to your new container
Next, add about 4 inches of fresh soil to the new container. You can use potting soil specifically made for fiddle leaf figs or you can use a tropical plant soil blend.
Best soil for Fiddle Leaf Figs
Miracle-Gro Tropical Potting Mix
Light and well-draining (perfect for avoiding root rot) while being packed with just the right nutrients – that will feed your plant for up to six months. The best soil for keeping your fiddle leaf fig healthy and strong.
Since fiddle leaf figs don’t like to sit in water, go ahead and add some rocks or pebbles to the bottom of the pot to help with drainage. Also, make sure to add some holes to the bottom for drainage. You can use a drill or a hammer and nail to make the holes.
3. Gently remove the plant from the old container
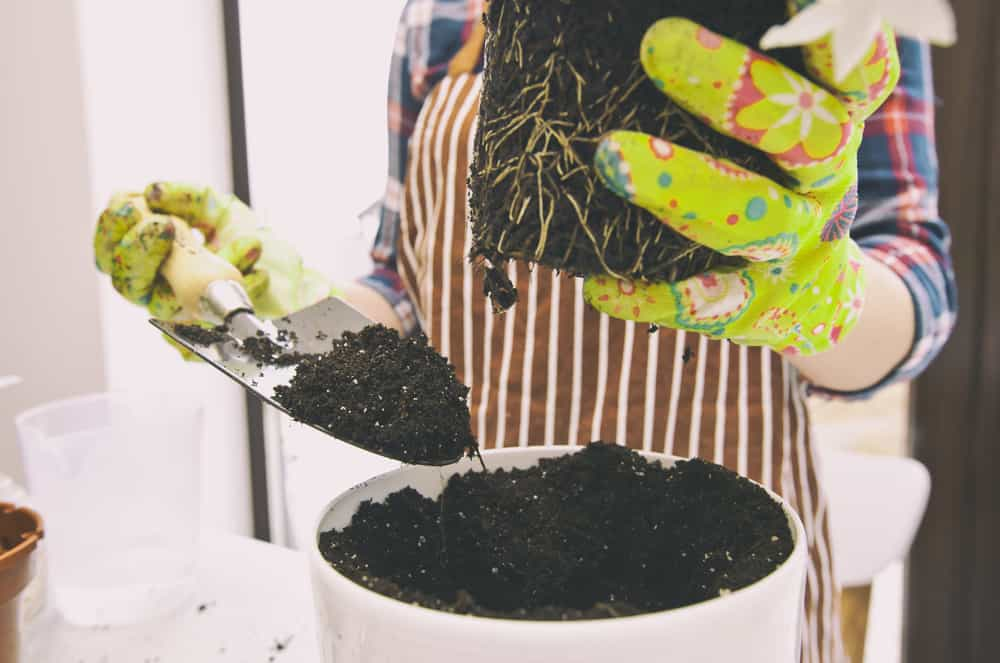
Now it’s time to remove your fiddle leaf fig from its old pot. Be careful not to damage the roots as you do this. Once the plant is out of the pot, gently loosen up the roots with your fingers. This will help them spread out when you put them in the new pot.
If you see any dead or damaged roots, go ahead and trim them with your scissors. You may also need to use the scissors if there are areas where the roots are holding onto the pot too tightly.
4. Place the new plant and cover it with soil
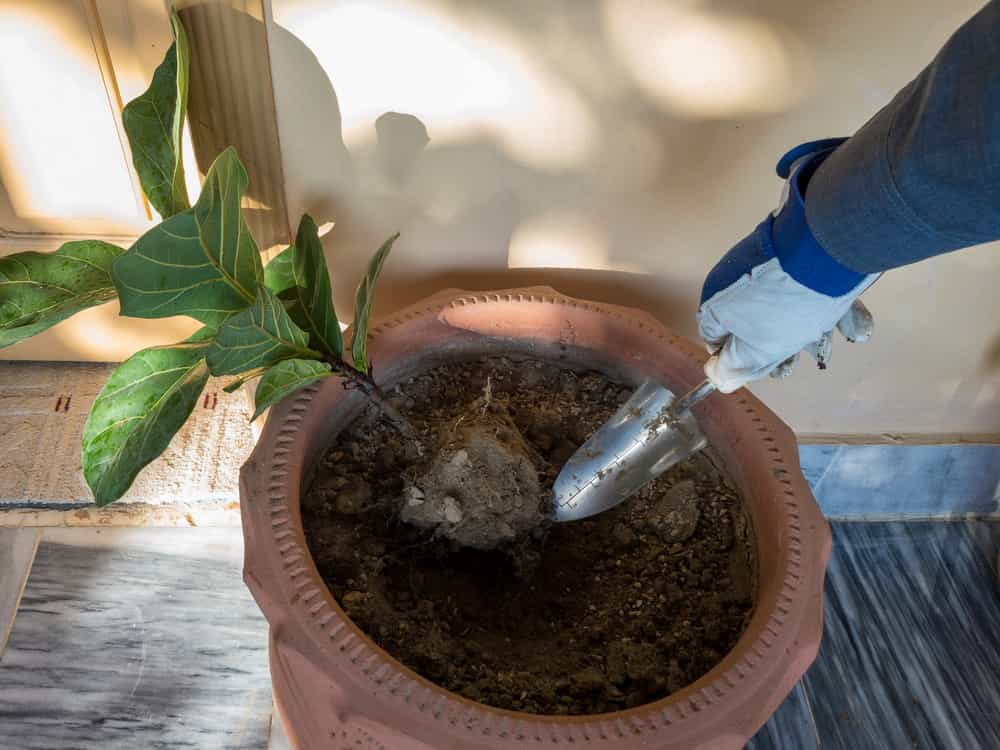
If you were able to remove all the roots from the old pot, go ahead and place your plant in the new one. Try to spread out the roots so that they are evenly distributed in the pot.
Once your plant is in the new pot, add more soil around it until it’s filled to the top or one inch below the lip of the pot. Be sure to pack down the soil gently so that it’s secure.
5. Water the plant
When you’re done repotting, water your fiddle leaf fig plant until the soil is moist. This will help the plant to avoid shock and will also help it to start growing new roots.
Don’t use cold water and consider letting the water sit out overnight so that all of the chlorine can evaporate. It’s also a good idea to mist the leaves with water once you’re done to help them recover from the repotting process.
6. Fertilize the plant after one month
From here on out, your plant should be able to take care of itself with regular care. About one month after you repot it, you can fertilize your fiddle leaf fig with tropical plant fertilizer.
Best fertilizer for Fiddle Leaf Figs
Miracle-Gro Water Soluble All Purpose Plant Food
A great fertilizer with the perfect balance for your fiddle leaf fig. Simply dissolve in water and feed your plant to watch it thrive.
Consider diluting the fertilizer with water to make sure you don’t overdo it. Once a month during the spring and summer should be enough to keep your plant healthy and happy.
How do you know when to repot a fiddle leaf fig?
A good rule of thumb is to remember to repot your fiddle leaf fig every two years. If you’re using a pot that’s an appropriate size, this will give the plant enough room to grow without becoming rootbound for this length of time.
You may need to repot more frequently if you live in an area with very hot summers since the roots will likely dry out faster. If you notice that your plant is wilting or its leaves are drooping, this is also a sign that it needs to be repotted.
Any signs of roots growing out of the drainage holes is also an indication that it’s time for a new pot. These roots may also break through the actual container itself or climb over the edge of your pot to find more room.
Remember, it’s always better to repot before your plant becomes too rootbound since this can be damaging to the plant. So don’t wait for signs of problems to repot your fiddle leaf fig and stick to the method of repotting it every two years.
How do you prune a fiddle leaf fig root ball?
When pruning your fiddle leaf fig plant’s roots, make sure not to remove more than 20 percent of the roots. This can be damaging to the plant and may even kill it. Focus on pruning any roots that are damaged, diseased, or excessively long.
It’s important to not contaminate your plant so make sure to wash your scissors before the process. The root system is very vulnerable and sensitive so even small amounts of bacteria can cause problems.
There isn’t really a reason to prune healthy fiddle leaf fig roots if they aren’t causing any problems. So don’t prune them regularly and only do so if there’s an issue that needs to be addressed.
How do you repot a fiddle leaf fig with root rot?
The best way to repot a fiddle leaf plant with root rot is by rinsing the roots with water to remove fungus and any infected dirt. Then you can trim off any mushy brown roots. Once you’re left with healthy roots, place the plant in a new pot with fresh soil.
If your plant has root rot, it’s important to act quickly and repot the plant as soon as possible. Root rot is caused by a build-up of water in the roots, which causes them to become susceptible to fungal growth. If you catch the problem early, it’s possible to recover your plant.
However, if more than 20% to 25% of your plant’s roots are discolored or mushy, it’s likely too late to save the plant and you’ll need to start over with a new one.
Most common causes of root rot in fiddle leaf fig plants
Here are the main reasons why your fiddle leaf fig plant might develop root rot:
Overwatering
This is the most common cause of root rot and is often due to incorrect watering practices. Make sure you’re only watering your plant when the soil is dry to the touch, which is usually about once a week.
Poor drainage
If the pot you’re using doesn’t have good drainage, the roots will sit in water and develop root rot. Make sure you’re using a pot with drainage holes to avoid this problem.
You can add drainage holes to a pot that doesn’t have them by using a drill.
Compacted soil
If the soil in your pot is too compacted, it won’t allow water to drain properly and the roots will become waterlogged. To avoid this problem, make sure you’re using a light and airy potting mix.
You can also mix in pebbles, vermiculite, or perlite to improve drainage.
Fertilizer burn
If you’re using too much fertilizer, it can build up in the soil and burn the roots. This will cause the roots to become discolored and mushy. To avoid this problem, only fertilize your plant every six weeks during the growing season and consider diluting the solution in half.


