Repotting a houseplant isn’t just about giving it a bigger home – it’s also your chance to check the roots, refresh the soil, and give your plant a fresh start. But if you rush it or skip a step, it might do more harm than good.
So how do you get it right without stressing your plant out?
As you’ll see, learning how to successfully repot a houseplant comes down to timing, prep, and a gentle hand. Once you’ve done it a couple of times, it starts to feel a lot less intimidating.
Table of Contents
Quick Care Guide for Most Common Houseplants 💚
⭐ How to start? Easy, hard-to-kill plants like Monstera or Pothos are usually a great starting point.
💧 Water: Water when the top 1-2 inches of soil are dry, but avoid letting them sit in standing water to prevent root rot.
🌱 Soil: Use a well-draining potting mix designed for indoor plants - I personally use this one. A mix with peat, perlite, or coco coir is great for avoiding soggy roots.
☀️ Light: Most houseplants thrive in bright, indirect light. Too little light can cause leaf drop, while direct sun may scorch the leaves.
🌡️ Temperature: Keep them between 60-75°F (15-24°C) and away from drafts, heaters or air conditioners.
🌿 Fertilizer: Feed with a balanced, water-soluble fertilizer (my top pick is this Miracle-Gro one) once a month during spring and summer. Hold off during fall and winter.
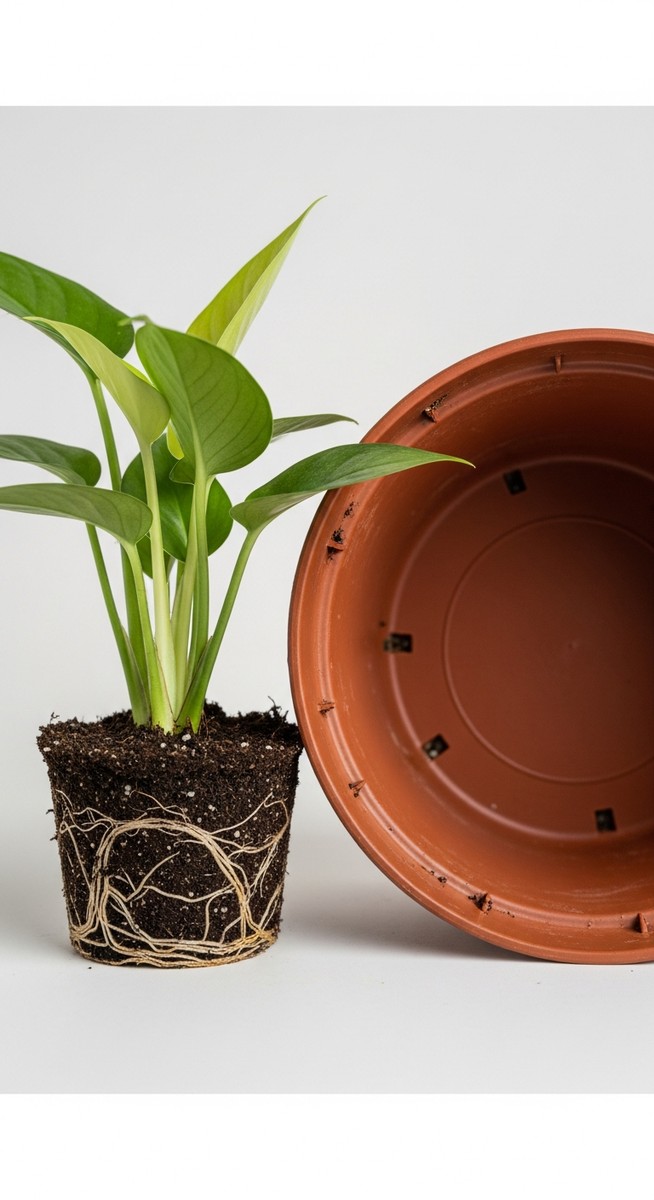
1. Choose the right pot size with drainage holes
Picking the right size for your new container is important for your plant’s health. A pot that’s just a bit larger than the current one works best. If it’s too big, the soil might stay wet for too long.
Always go for a container with holes at the bottom. These let extra water drain out, stopping the roots from getting soggy. Soggy roots can lead to problems like rot.
Check that the holes aren’t blocked. You can place a small stone or piece of mesh over them to keep soil from washing out while still letting water escape.
It might be tempting to use a decorative pot without holes, but it’s risky. Excess water can collect at the bottom, creating unhealthy conditions for roots.
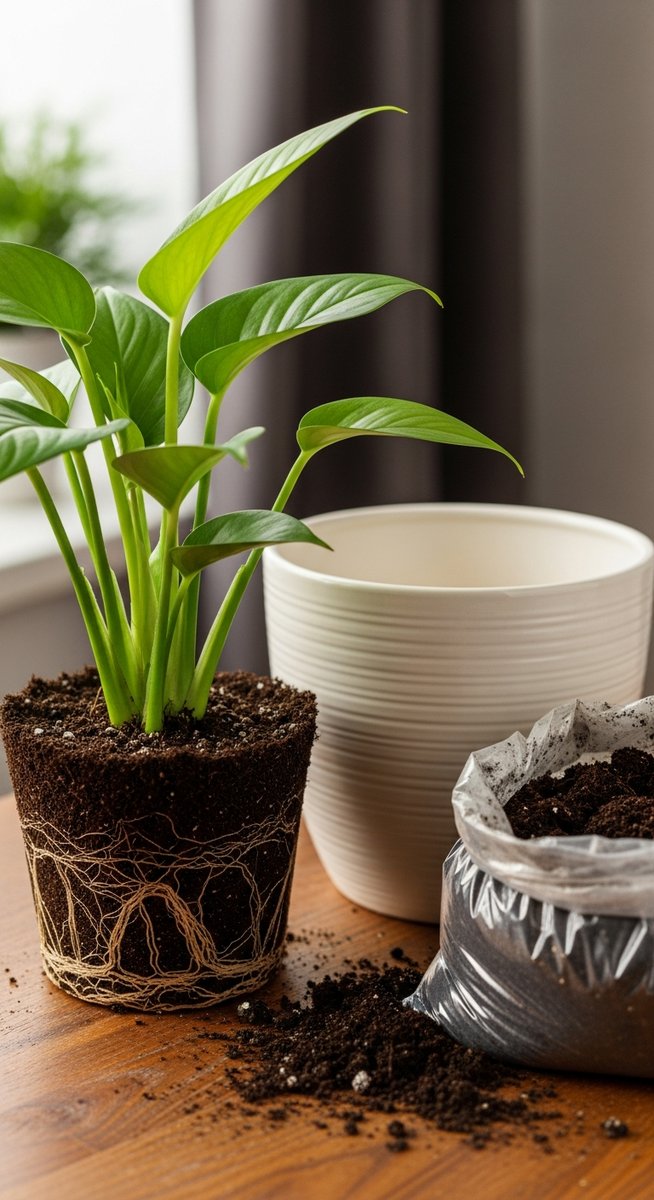
2. Use the right potting mix
Choosing soil made for your plant’s needs makes a big difference. At the same time, for the vast majority of houseplants, this potting mix has the perfect mix of drainage and nutrients to help your plants thrive.
That said, if you’re looking for something specifically created for tropical houseplants, like if your monstera or pothos are itching for a new home, check out this tropical plant potting mix to ensure even more drainage. On the other hand, succulents need sandy, gritty substrates that help water drain quickly, and this potting mix for succulents will definitely do the trick.
Don’t grab dirt from outside, since it might have bugs or fungi. Fresh store-bought mix is cleaner and safer. Try to use a potting mix that’s light and airy, so water can flow through easily.
If the roots sit in soggy soil, they can rot. It’s okay to mix in a bit of perlite, bark, or sand to improve texture and flow. Make sure you get enough to fill the container without packing it down tightly.
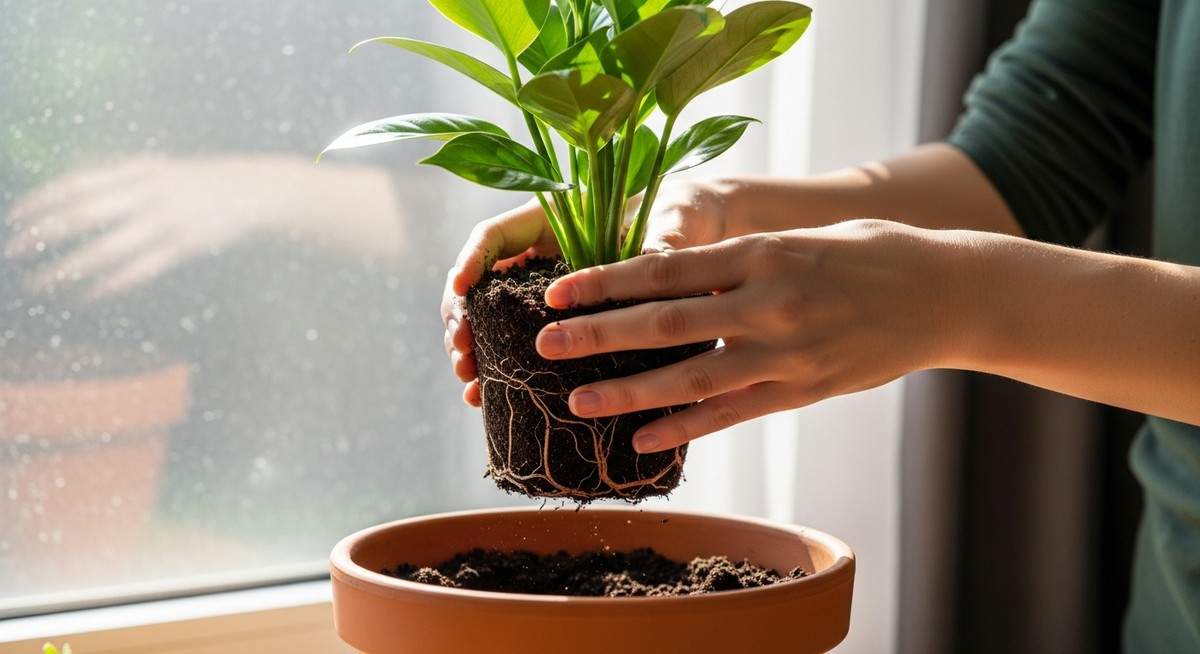
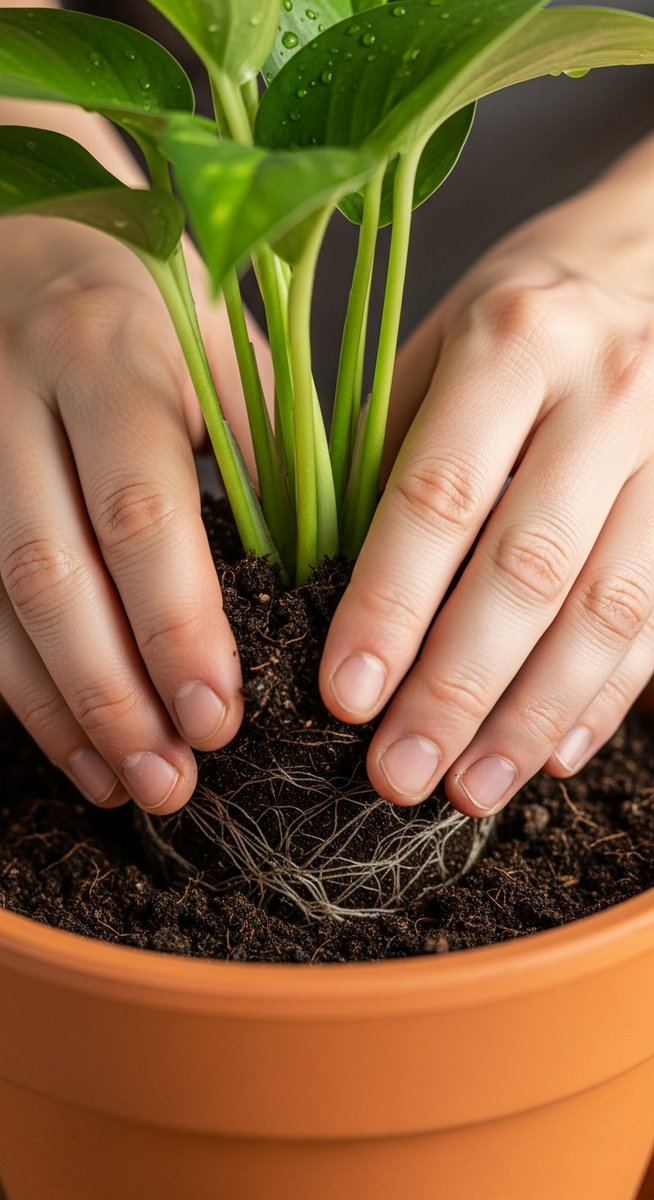
3. Gently loosen soil around the roots
Carefully tip out the plant while supporting the base. Most roots come out in a compact shape, still holding onto some of the old dirt.
Use your fingers to gently tease apart tangled roots. Don’t tug too hard – gentle wiggling usually does the trick without causing any damage.
If you see any dense clumps of old soil, try to break them up so the roots can spread out more easily in their new container. This step helps your plant get established faster.
Worried about breaking a few roots? That’s normal – many houseplants recover just fine as long as you avoid pulling or tearing too much. Working slowly with your hands often works better than tools.
4. Add a layer of pebbles for drainage
Start by putting a thin layer of small stones or pebbles at the bottom of your new pot. This helps extra water drain away from the roots.
Even with pots that have drainage holes, this step can prevent soil from getting compacted near the bottom. It’s a good way to help keep roots from sitting in water, which can cause problems like root rot.
Don’t pile the stones too high, as this can actually encourage root rot – just an even, single layer is enough. Once you’ve added this base, you can go ahead and add your potting mix and your plant.
5. Water the plant a day before repotting
Give your plant a drink the day before you move it to a new pot. Moist soil makes it much easier to slide the plant out without hurting the roots. It also helps stop the root ball from falling apart.
Dry soil can make repotting stressful for your plant. Roots may break or even stick to the old container. Keeping the soil a bit damp helps keep everything together.
Don’t soak the plant – just water it as you usually do. The goal is to keep things lightly moist, not soggy. This step can really make repotting faster and less messy.
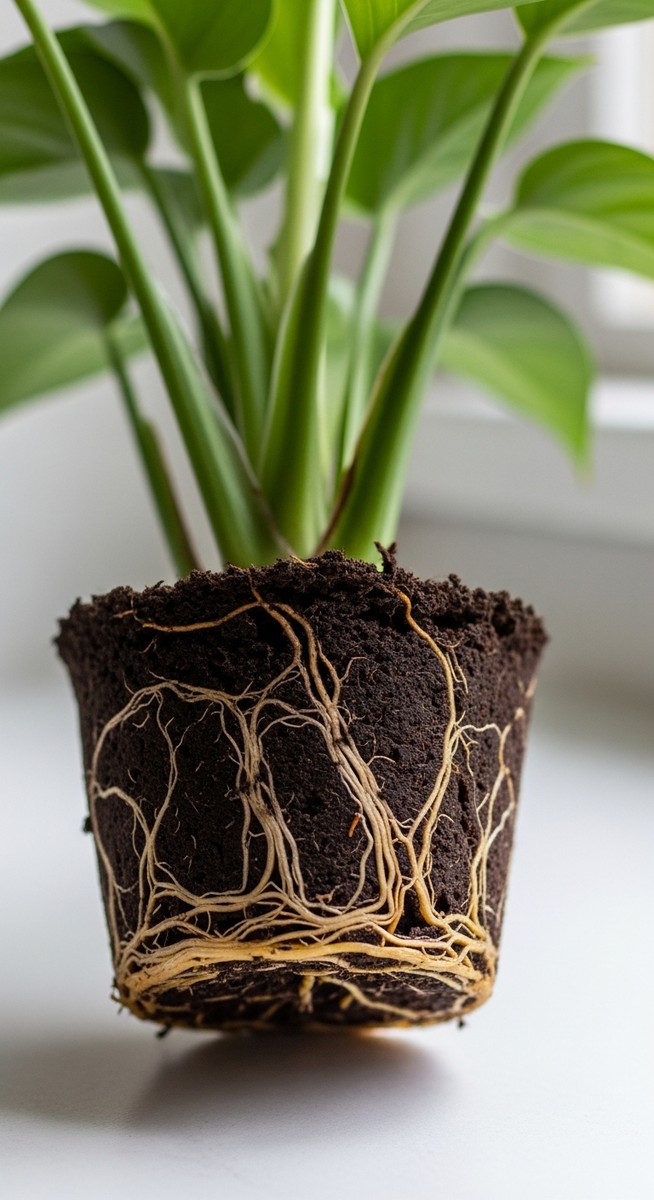
6. Handle roots carefully to avoid damage
Gently loosen the root ball with your fingers instead of pulling or tearing. Damaged roots can slow growth, so it’s important to take your time.
Shake off excess old soil, but don’t worry about getting every bit. If you see dead or mushy roots, use clean scissors to trim them away.
Try to keep the healthy roots as much intact as possible. Avoid leaving them exposed to air for too long while repotting.
Working slowly and with a light touch helps your plant settle in its new pot with less stress. This keeps it on track for healthy growth.
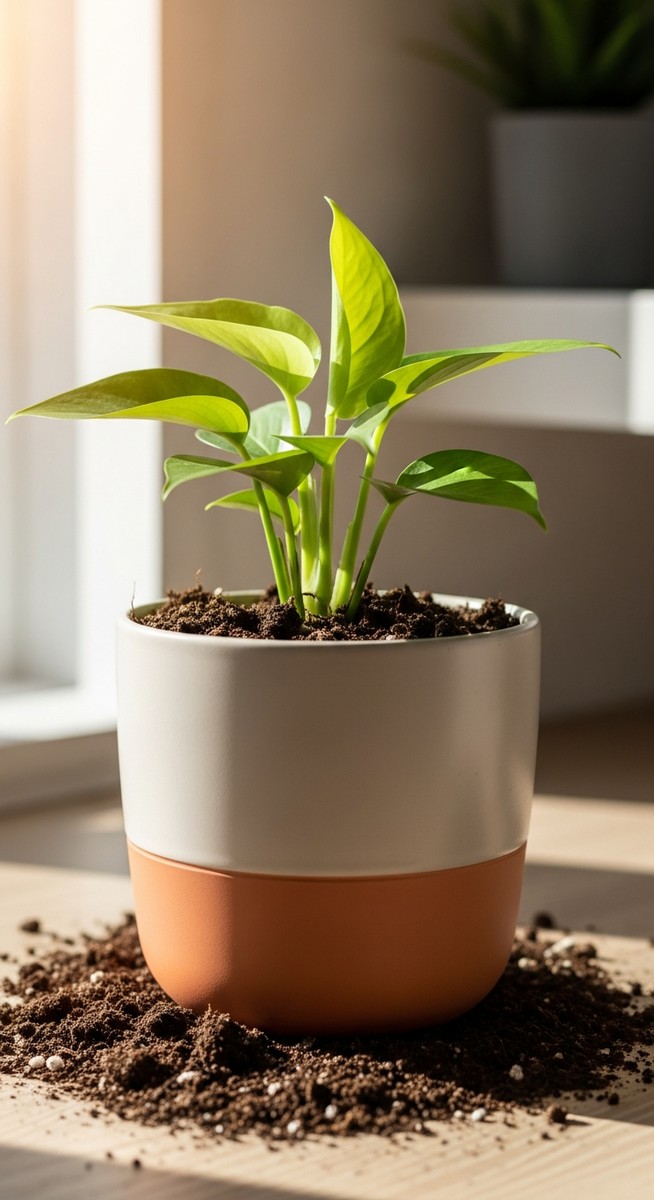
7. Place the plant in the center of the new pot
Set the plant gently in the middle of the pot so its roots are spread out. Try to keep it upright and level as you position it.
Make sure there’s a gap between the root ball and the sides of the pot – this will help fresh soil settle around the roots. Being centered now makes watering and growth more even later on.

Add more soil around the sides until the plant feels secure. Press the soil lightly to steady the plant, but don’t pack it too tight.
You want your plant to sit at the same height as it did before, not deeper or sticking too high out of the pot. This helps prevent issues with rot or root suffocation.
Understanding Drainage Needs
Getting drainage right keeps roots from sitting in water, which can cause root rot. A container with at least one hole at the bottom lets water escape easily. For plants that like dry conditions, like succulents or cacti, drainage is even more important.
Quick tips for drainage:
- Make sure the new pot is only an inch or two wider than the old one.
- Use pots made from terracotta or ceramic if you want more breathability.
- Place a small piece of mesh or a coffee filter over the hole to keep soil from washing out, but don’t use rocks at the bottom.
Caring for Repotted Houseplants
Your newly repotted plant needs special attention as it adjusts to its new environment. The right care now helps roots establish and reduces the chance of stress or decline.
Watering After Repotting
After moving your plant to a new pot, it’s important to give it a good drink. Water until you see excess coming out of the drainage holes – this helps settle soil around the roots and removes air gaps. Make sure the container is draining properly so excess moisture isn’t trapped.
Over the next week, check the top inch of soil each day. Only water again when this layer feels dry to the touch. Don’t let the soil get soggy – too much moisture can lead to root rot, especially after repotting. Use room temperature water to avoid shocking the roots.
A watering schedule might need tweaking. The plant’s growth may pause for a bit, so you’ll often need less water than before. Keep an eye out for drooping or yellowing leaves as these are signs of too much or too little water.
Monitoring for Transplant Shock
Transplant shock is common and can show up in wilted leaves, slow growth, or leaf drop. This reaction is usually temporary as your plant recovers from being moved. Place the plant somewhere with indirect light and keep it out of drafts or sudden temperature changes.
Check your plant daily for any changes. Brown leaf tips, drooping, or a dull appearance are signs to watch for. Remove any leaves that turn completely brown or mushy.
Limit fertilizer use for the first 4-6 weeks, since fresh potting mix often has enough nutrients. Once your plant shows new growth, you can resume a normal care routine. Patience is key during this adjustment phase.